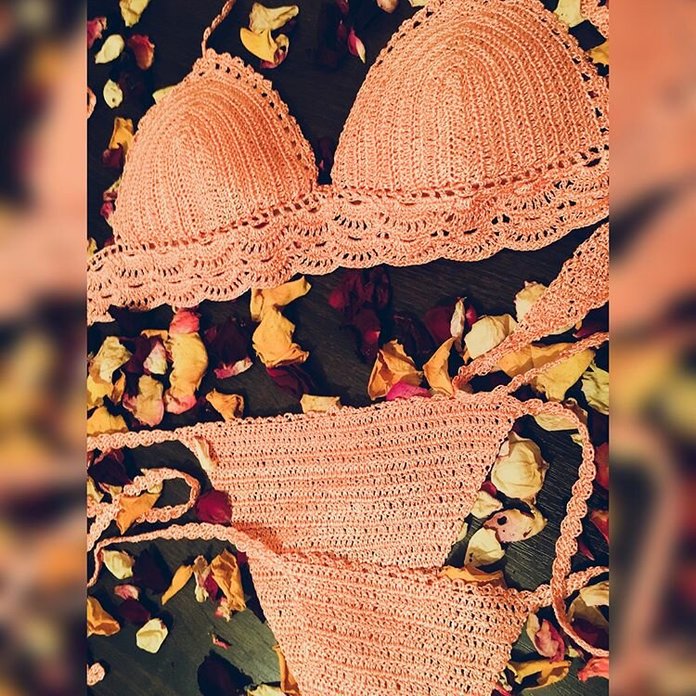
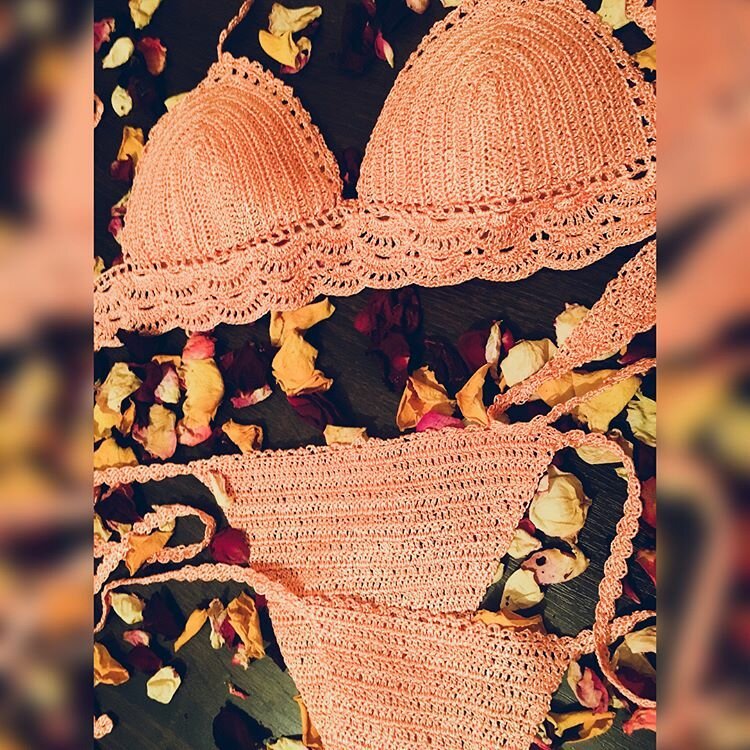
First we knitted a bodice. And if you thought that he had a lot of problems and troubles, then with a bikini everything turned out to be even more complicated. At least for me, and I will explain why.
Before starting to knit, I will explain some very important rules, without which beautiful bikinis cannot be knitted.
- We select only a DENSE pattern for a bikini;
- Carefully measure the hips (several times);
- Measurements need to be taken not only in width, but also in length.
Nothing complicated, right? But if this is not done, then you can bandage the bikini several times, as I had to do it.
How to bandage a bikini without having to dissolve the entire fabric, I will tell at the very end.
Stage 1: pattern
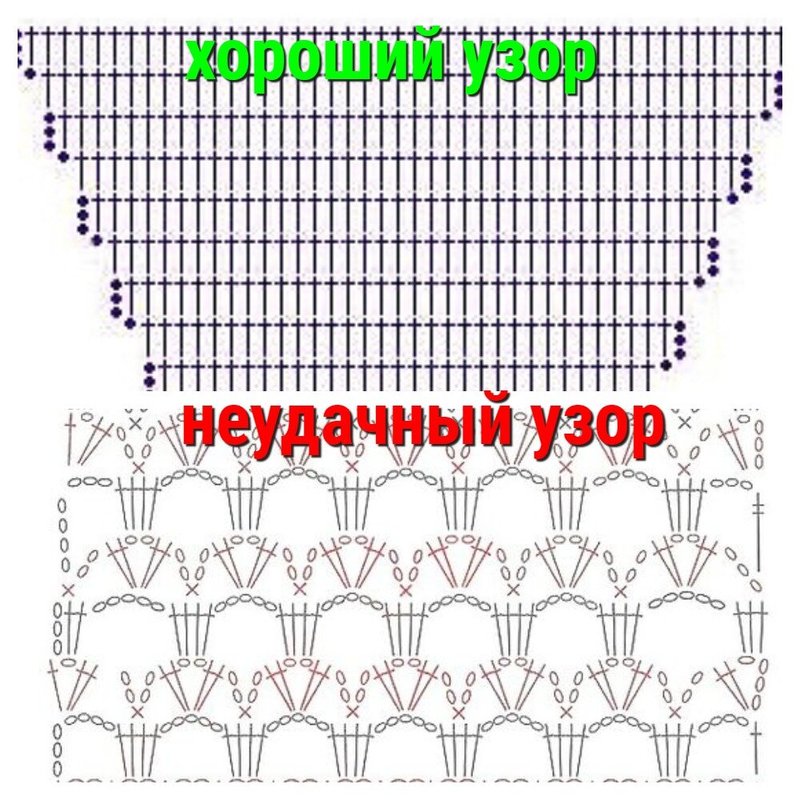
As I mentioned above, you need to choose the right pattern. Only tight knitting from various columns (not twisted) and without many air loops.
Of course, you can take some kind of fantasy pattern, but then for a bikini you will have to sew a lining for the entire canvas, and not just on the bottom.
It is best to choose the classic version, consisting entirely of single crochet columns.
Stage 2: the basis of knitting
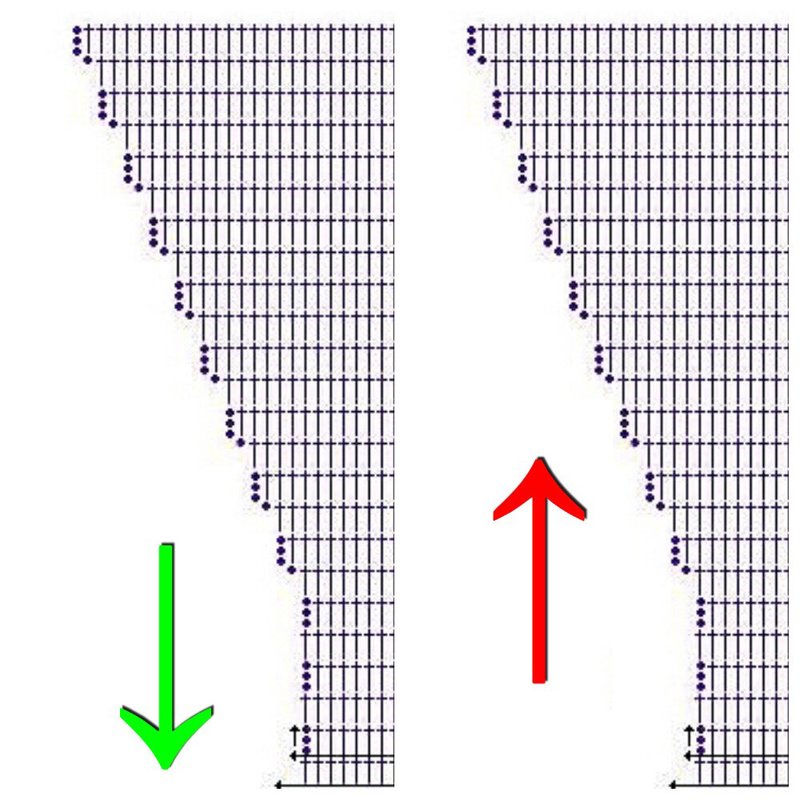
Many needlewomen advise starting to knit bikini from the bottom, gradually increasing the knitting to the belt. I categorically disagree with them.
If there are not enough rows when knitting, then you will have to continue to make allowances towards the waist. Because of this, bikinis will look like grandmother's knickers and lose their beautiful shape.
Therefore, I recommend knitting a bikini from a belt, so that if necessary, add rows to the bottom.
We collect a chain of air loops + 3 v / n lift.
Depending on the initial measurements and the figure, the number of loops may vary.
Stage 3: knitting pattern

In each top of the previous row we knit 1 double crochet.
On 2 final loops we make 2 tbsp. S. with a common peak.
Columns with a common top knit, as in the photo above ↑
Thus, we knit all subsequent rows until 16 st / s n remain in the row.
1 column reduction on each row will help to make a smooth transition from the wide part of the bikini to the narrow one.
Here you can adjust the shape, sometimes removing 2-3 columns, depending on the wishes.
By the same principle, we knit the second side of the bikini.
Remember that the back should be wider than the front!
Finally - we sew or knit both sides on the bottom.
Stage 4: ties and strapping
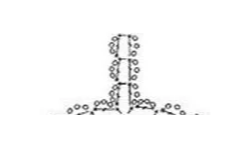
I made the ties according to the same principle as on the bodice. This allows the swimsuit to look more harmonious.
- We tie the thread to the corner of the belt and dial 3 v / n;
- In 1 military unit we knit st / s n;
- Again we type 3 v / p;
- Alternate 3 high-speed and st / s n;
- In this way we get the required length and proceed to the second side of the tie repeating the pattern, as in the diagram.
In principle, instead of double crochets, you can make connecting posts. It will also look beautiful)
Difficulties and their solution
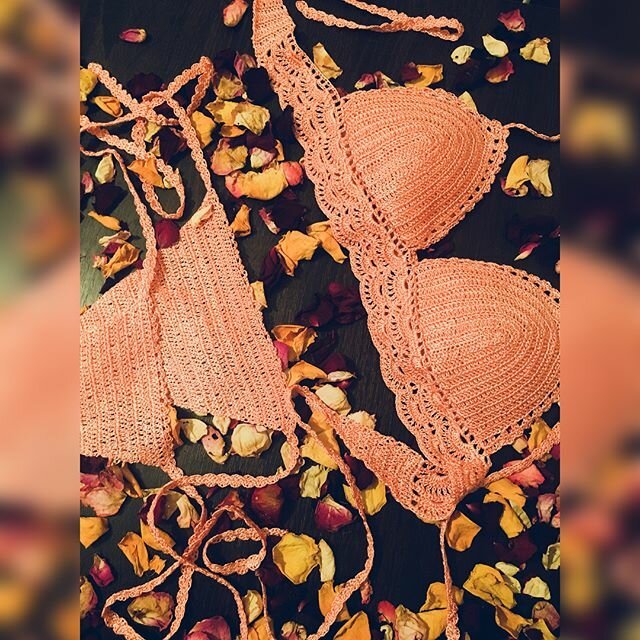
The main problem that you may encounter when knitting a bikini is a mismatch in the final sizes. This can happen even if all the measurements were taken perfectly.
What we do in this case:
- Gently unzip the seam below;
- We tie the same number of rows on both sides;
- Sew again.
It would seem easier to add rows to the belt. But let me remind you that then the originally conceived form will not look. In addition, initially we took measurements in a different size.
Of course, it will be possible to tighten the ties tighter, but then the swimsuit will not look as perfect as before.


