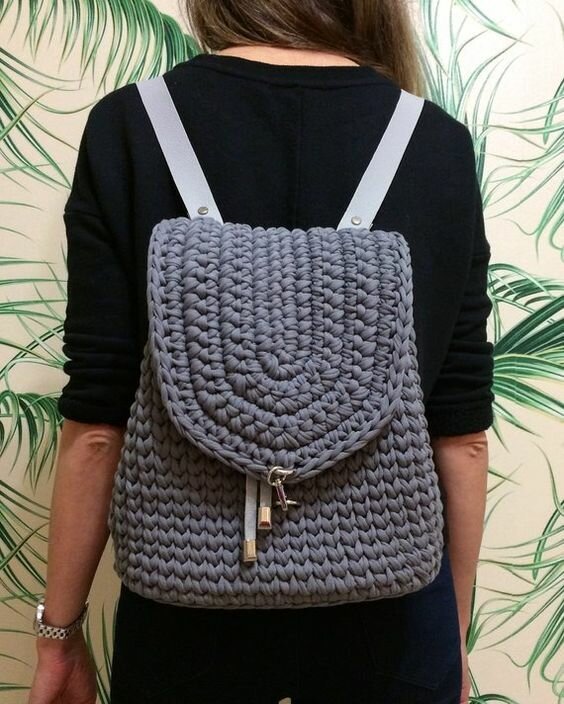

If you like knitted bags, then a knitted backpack will also be interesting! You can connect it for yourself or for your children.
The advantage of a knitted backpack is that you can independently adjust:
- Width
- Height;
- Form;
- Spaciousness;
- Design;
- Accessories
By the way, the backpack is now one of the most fashionable accessories. So if you want, you can do this for every day.
Consider all the steps in more detail.
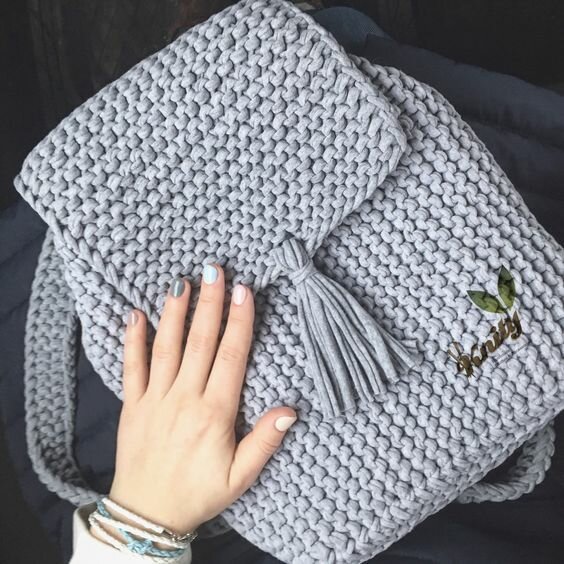
Design
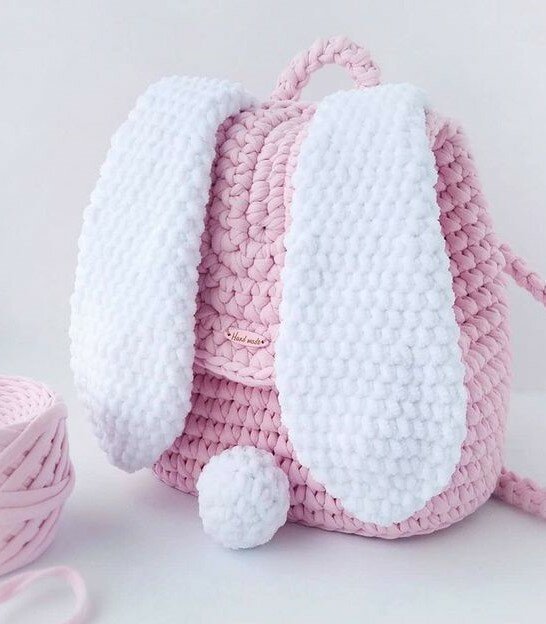
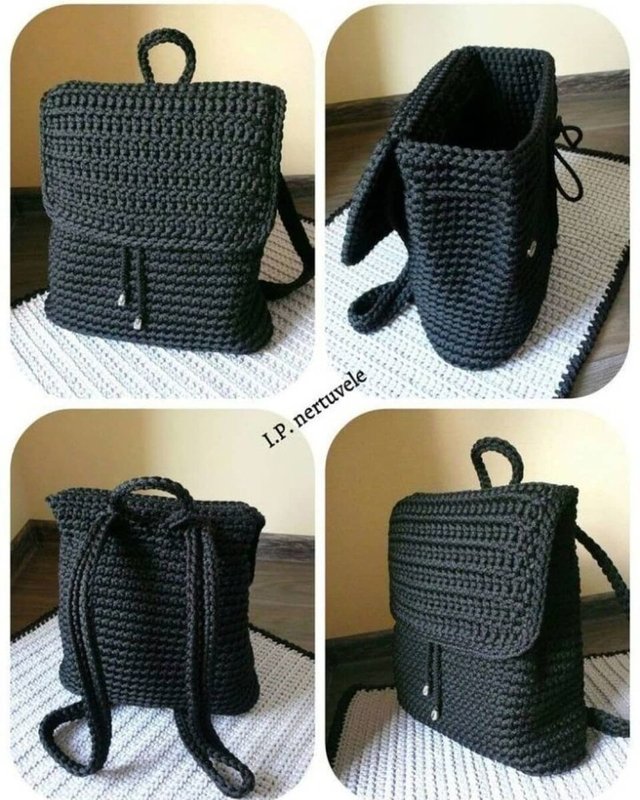
First of all, you should choose a design. This can be a classic version of a backpack, a backpack bag, with ties, zippers, an extra handle, even with ears and a tail!
The same goes for the color scheme. You can choose any option, the main thing is that it suits your taste.

Knitting method
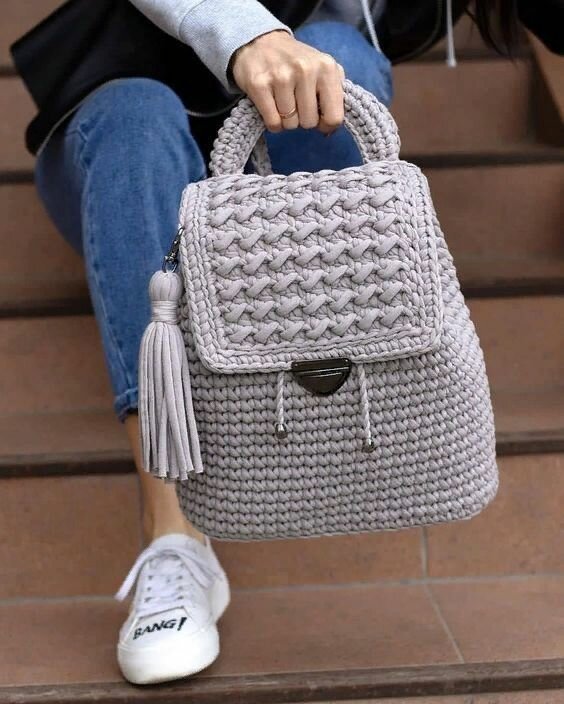
You can knit a backpack in different tricks: double crochet, connecting posts, lush columns. The main thing is to choose a tight knit.
The thread should also be taken not simple, but special, which is suitable for knitting bags, rugs and rugs.
It is better to knit a backpack from a thick knitted yarn of 7-9 mm.
Accessories
For the most part, backpack accessories can be knitted independently. It can be handles, and ties, and pendants. Some needlewomen tend to buy options to save time.
Of course, depending on the quality of the yarn, accessories made on their own can lose to the quality of those purchased.
Therefore, if you are not confident in your own abilities, it is better to purchase all the necessary parts in a specialized store.
Scheme and steps
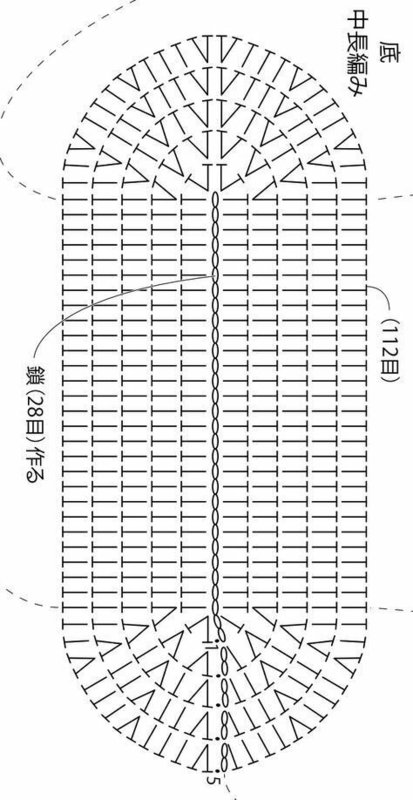
We start knitting with the hem. To do this, you need to determine the appropriate width of the backpack and dial a chain of air loops.
Further knitting is carried out in any chosen way: s / s, st / s N., lush columns.
- The chain of v / p is tied in a circle, at the corners we add + 4 columns;
- Each subsequent row + 4 columns;
- Continue until you get the bottom you need the diameter.
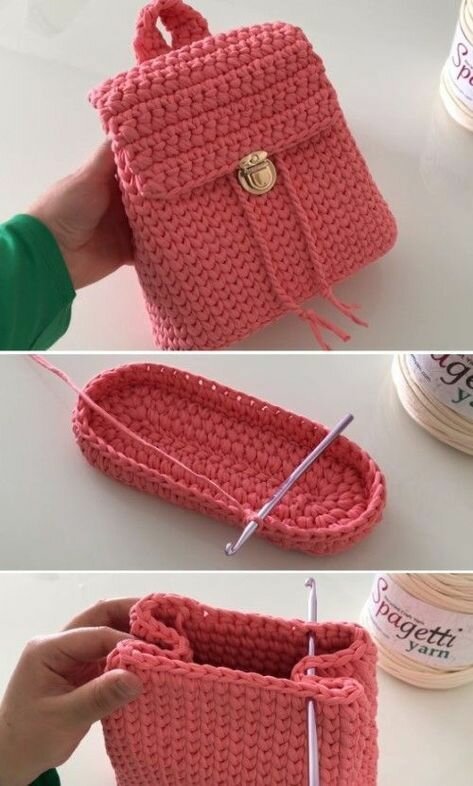
Further we make an ascent to the main part of the backpack. To do this, simply repeat the last row of the bottom several times.
This will help form a kind of “stand”, which will serve as the basis for the rest.
From the base, we continue to tie the backpack in a circle, gradually reducing by 2 columns in the corners to give the desired shape.
In principle, you can move away from the classical form and do something similar to a purse.
Having finished with the main part (body) of the backpack, you can separately tie the handles or tie them directly to the workpiece. The same goes for the top - the valve. This is true for those backpacks that come with a clasp.
In other cases, you can tie the ties and simply thread them between the loops of the last rows, so that if desired, the backpack could be tightened.
This is how you can simply and quickly knit a rucksack according to your standards and taste without overpaying and being completely sure that the rucksack is made expertly and with love!


