
Almost every PC user was faced with the fact that it was necessary to create a screenshot (screenshot), but not everyone knows how to do this. Sometimes you need a screenshot of a certain part of the screen or the whole page of the site, the question arises: "How to select the necessary area?".
Various software have a different set of execution commands, including for screenshots. We will try to figure out with the help of which commands, keyboard shortcuts and programs, this can be done in Windows.
Take a screenshot using the “Print Screen” key
 Absolutely on all keyboards of different devices there is a “Print Screen” button. It is defined as a “hot button” for taking screenshots. It allows you to “screen” and save the image without any additional utilities.
This is a built-in function of the operating system. The only differences in keyboard designation are “Print Screen,” “PrntScrn,” “PrtScn,” “PrtScr,” or “PrtSc.”
For the computer, click the “Print Screen” button.
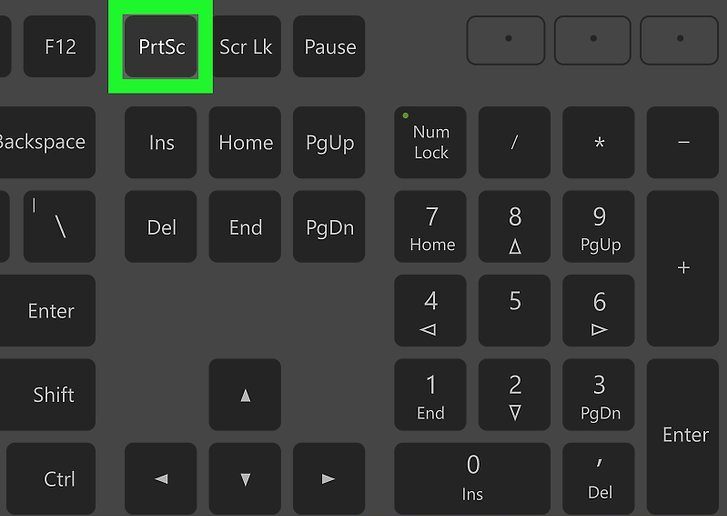
For a laptop, you need to simultaneously press 2 keys: “Print Screen” and “Fn”.
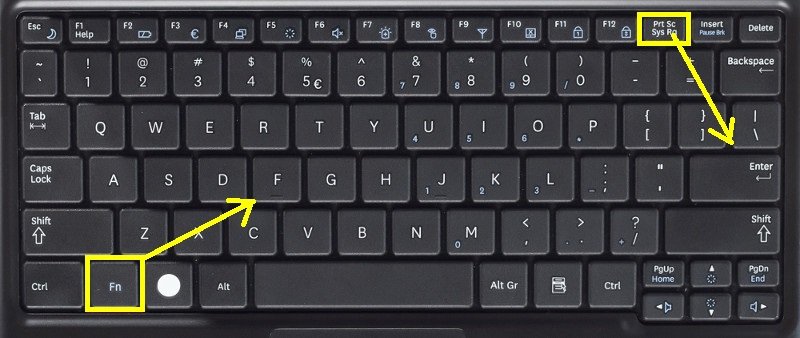
To take a screenshot of the active window (that is, the working window of the graphical user interface), you must simultaneously press "Alt" and "Print Screen" on the computer.
For a laptop - “Alt”, “Print Screen” and “Fn”.
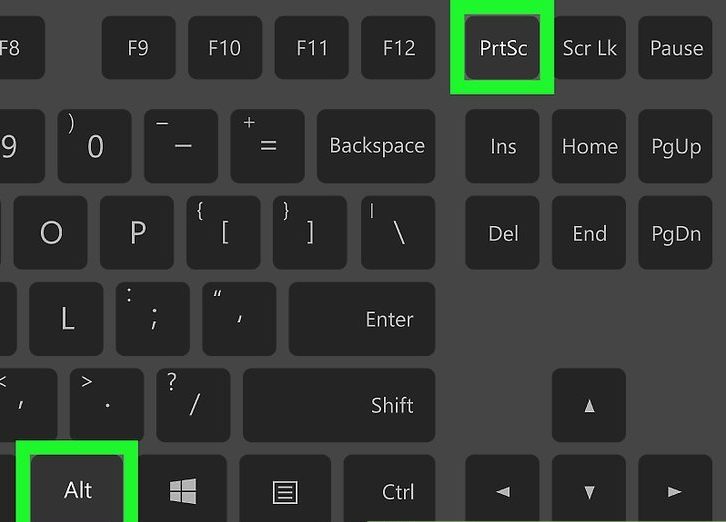
Screenshot will be saved to the clipboard, from where it can be pasted into any desired program by pressing the “Ctrl” and “V” keys. These commands are the same for all Winows operating systems.
Note: for Windows 8 and 10 there is a simple command for taking screenshots: Win + PrtScn. They are saved automatically in a folder in the image library. If you need a screenshot of only the active window, press the combination of Alt and Print Screen, paste it into the desired program and save.
How to save a screenshot?
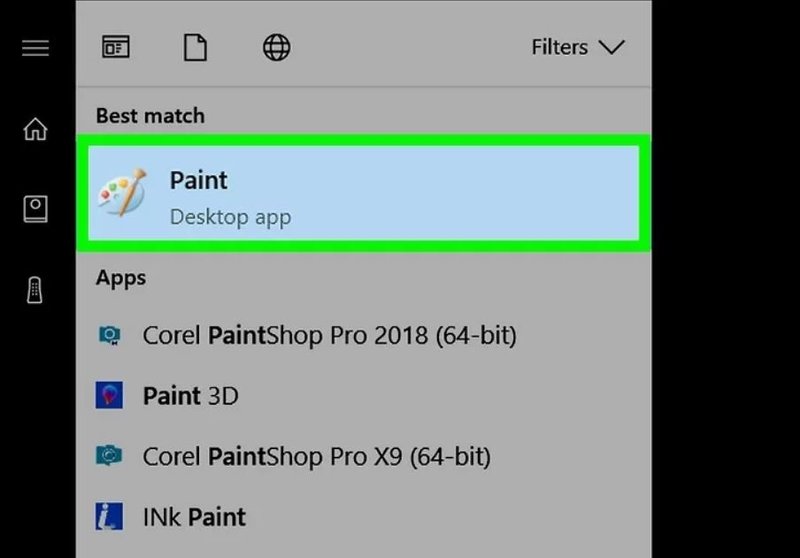
In order to save the screenshot, you need to transfer the image to the Paint editor, which is located in the “standard programs” of the main menu of the system. You can find the menu behind the “Start” or “Menu” button. If you cannot find the Paint program, then in the main menu, in the search bar, type the name of the search item, which is displayed in the drop-down list.
After opening the Paint photo editor on the toolbar, find the “Insert” button or use the “Ctrl + V” command - the shot fragment from the buffer will be extracted into the program.
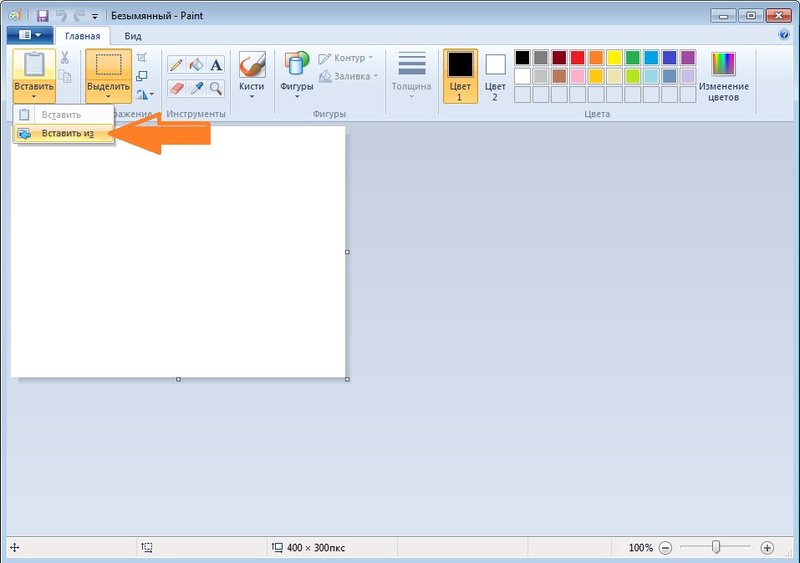
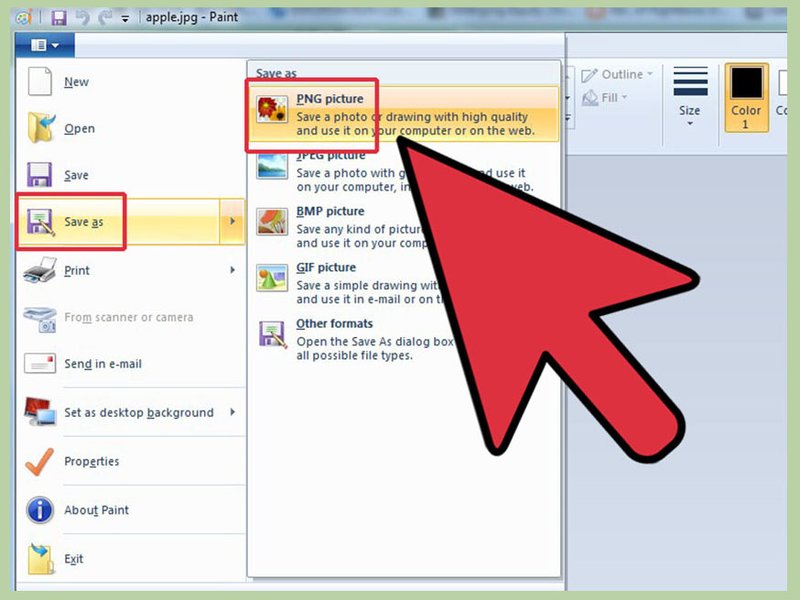
Then, on the taskbar, find the save button in diskette form and specify the save path. You can use the keyboard shortcut “Ctrl + Shift + S”.
It is recommended that you save image files in common formats so that you can open it on any system. Such formats include JPG and PNG, BMP and in rare cases TIFF.
If you want to save the screenshot in the cloud or forward, use the Windows + H keyboard shortcut. After the screenshot is taken, a panel appears with a list of applications through which you can send the screen.
Take a screenshot using the Scissors program
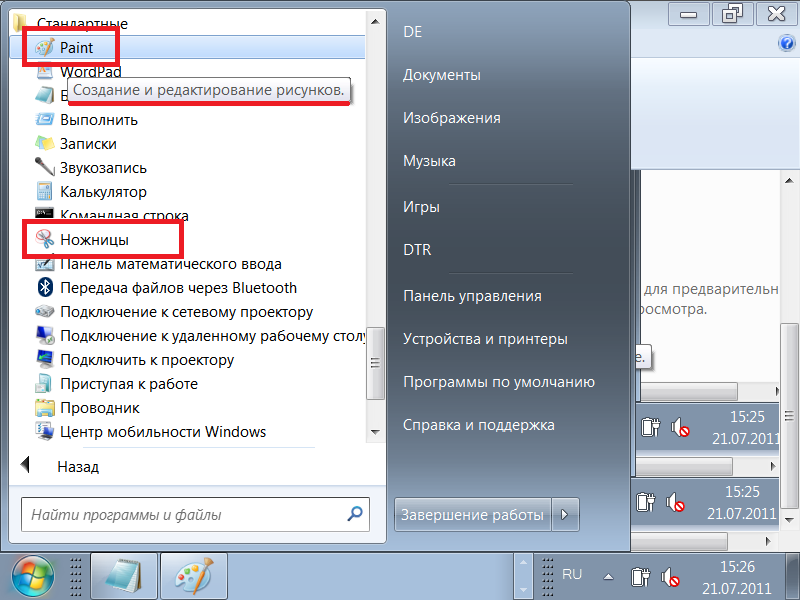
Winows system has a “Scissors” system program that allows you to create screenshots of any part of the screen. This utility can be found in the “standard programs” of the main menu of the system, which opens with the “Start” or “Menu” button.
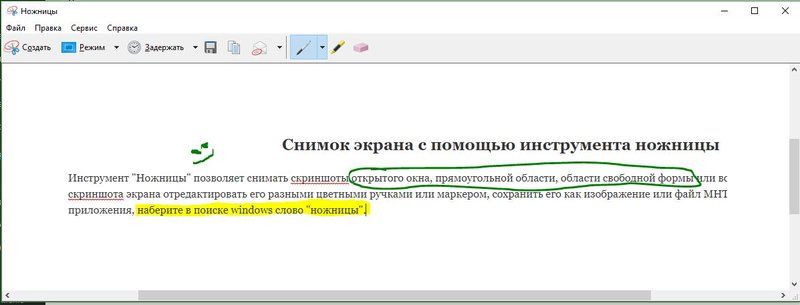
After opening the program, you need to select the “Create” button from the drop-down list and specify the desired shape for the future screenshot or area. The list is located on the right side of the “Create” button on the toolbar. After you have decided on the form, click on the “create” button and the screen will change color.
Select the desired area for the picture. A save window will automatically appear in which you can edit the image file. Several tools are intended for editing: pen, marker and eraser. With their help, you can highlight what is needed in the text or make inscriptions.
The screenshot is saved via “Ctrl + S” or via the save button as a diskette.
Additional programs for screenshots

In order to take a screenshot, you can take advantage of additional free programs from Microsoft, which are freely available.
One such program is Snip. She takes a screenshot of both the entire screen and its individual parts. The program has additional features: it can record video and sound.
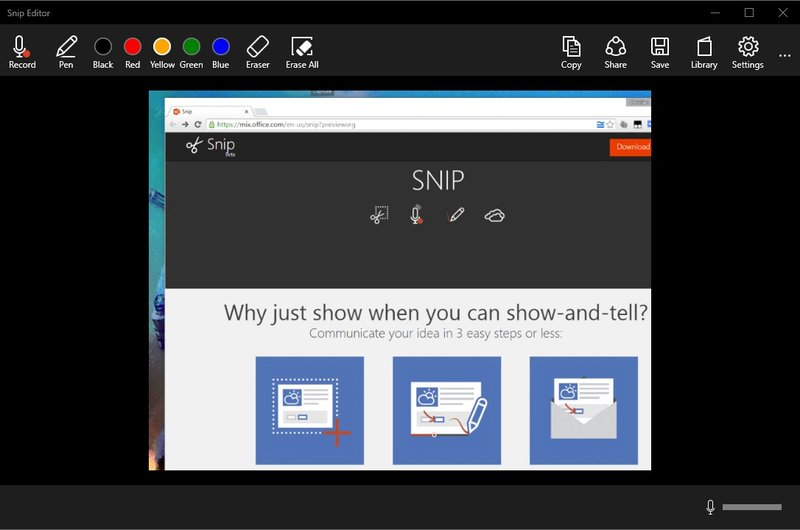
You can use other programs from other developers. For example, PicPick, an easy-to-use program. It has several tools for working with images.
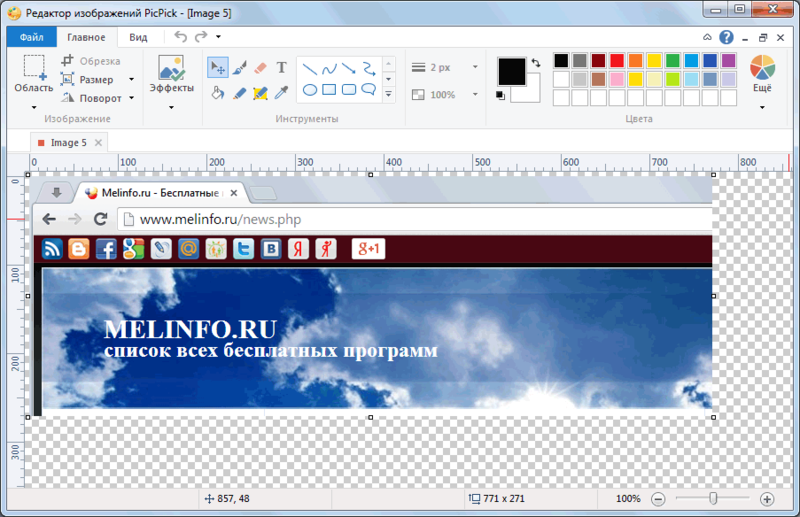
PicPick works on the principle of Paint. When you open the window, if you click PrtScn, the monitor picture immediately appears in the working field of the program. If you want to fragment something, select the “New task” and “Selected area” sections. Next, mark the desired area, click “File”, the final action is to save in the required format and enter it into the necessary program.
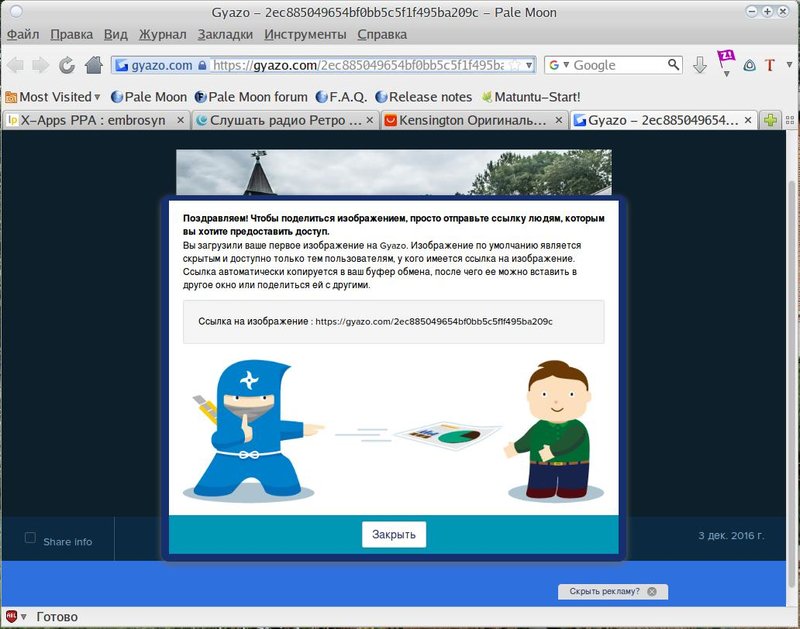
If you need a photo editor with more advanced features, you can use the Gyazo program. This program saves all screenshots in the “cloud” on the server and stores them for free for a month. Thus, you can access them at any moment.
This program also has paid services. For a few dollars, they offer unlimited storage and a number of additional tools, including the ability to copy text from screenshots.
You can use the program as follows:
- Create an account and download the “client” from the official Gyazo website;
- A program shortcut will appear on the desktop. By clicking on it, you need to select the desired area of the screen and take a screenshot;
- The program launches a browser and opens a page with a graphic image made in the online gallery, where you can make various manipulations with it.
Online Services for Screenshots

There are many online services for creating screenshots. To do this, special programs are installed that not only allow you to take a screenshot and save on the server, but also immediately give a link to them. With the help of such programs, you can easily take screenshots of site pages by specifying only the address.
The most convenient online programs for creating screenshots include:
- Floomby
- Joxi;
- Lightshot
- iWebToShot;
- ScreenCapture
How to take a screenshot on Linux
 The methods for creating a screenshot in Linux are somewhat complicated, since there is no special screenshot program in this operating system. It all depends on the components included in the distribution. Most of them should have at least one screenshot program.
For linux, the Print Screen key is not functional, but for the GNOME desktop, it is active on Ubuntu and Linux Mint.
You can use the following method to take a screenshot:
- Pressing PrtScn takes a screenshot of the entire screen. It can be saved to any folder;
- By pressing Alt + PrtScn, a screenshot of the active window is created;
- When you press Shift + PrtScn, you can select the desired portion of the screen;
- Using the Gnome-Screenshot program, you can edit screenshots, as the program offers additional tools, such as design effects.
You can use the GIMP Image Editor:
- Through the “application center” install GIMP Image Editor;
- To create a screen, you need to click: “File”, “Create”, “Screenshot”, and select the type of image, it will be displayed in the GIMP window;
- To save the received graphic image, click “File” and “Export”, specifying the desired folder, then again “Export”.
Another method is the Shutter editor, it can be installed through the package manager:
- After installation, select the desired type of image: "Selection", "Desktop" and "Window";
- Take a screenshot;
- Edit and export to photo hosting or FTP server.
Each of these methods is quite simple and convenient for creating screenshots, and some allow you to edit images and save in the "cloud", which is very convenient for quick access and transfer.


