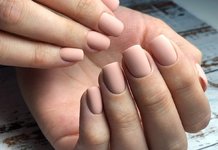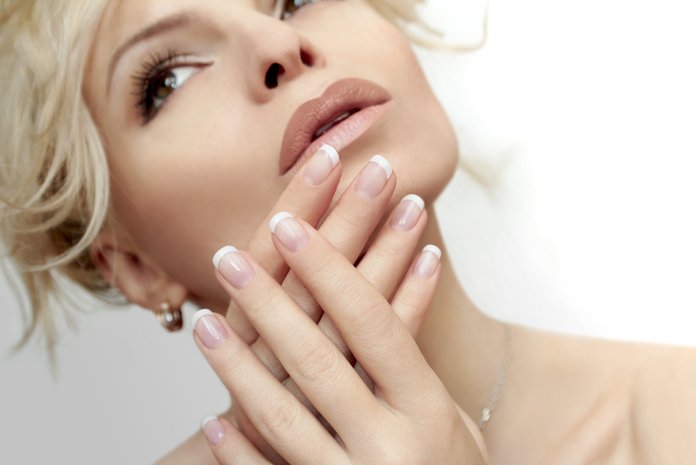
French manicure with gel polish is a classic way of nail design. French looks perfect on nails of different lengths and shapes, and also fits many fashionable looks. That is why most often girls and women prefer accurate French manicure.
Preparation of materials and tools
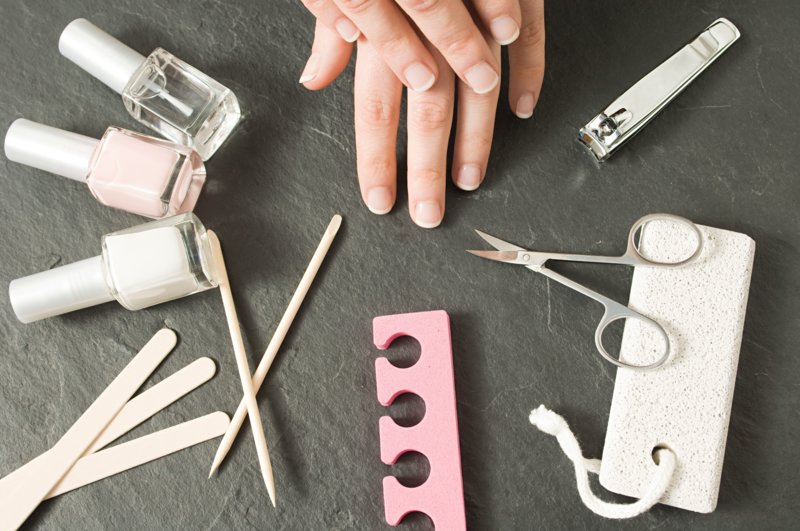
To stain the nails with gel polish, you will need a different set of tools and materials. It can be a fraser or a basic kit for home manicure.
For a perfect jacket with gel polish, you will need:
- Set for processing nails: nail file, buff, manicure scissors, orange stick, napkins, pusher;
- Antiseptic;
- Bath with warm water;
- Cuticle oil;
- Gel polish of a suitable shade: white, transparent or beige for the base, gel varnishes for French design;
- Brush, stencils, strips or tips for drawing a line of a smile on nails;
- Primer
- Base;
- UV or LED lamp;
- The sticky layer remover.
Doing French step by step
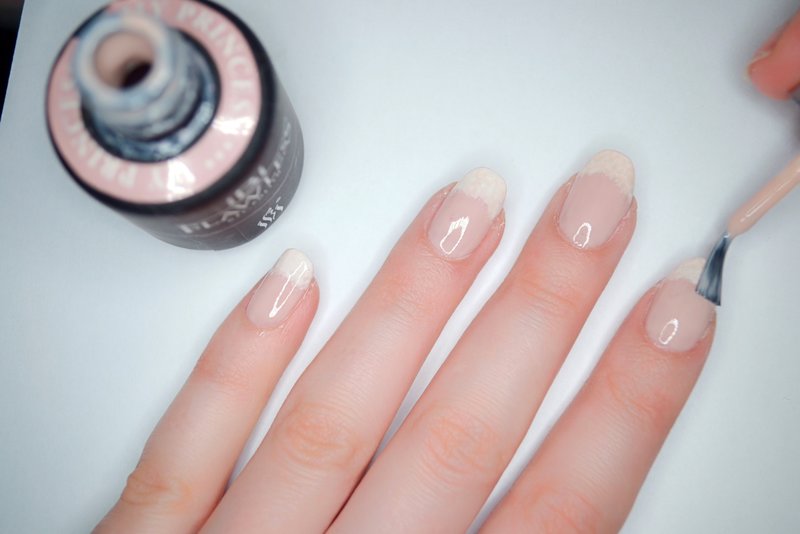
To make the French manicure as natural and feminine as possible, but at the same time attract the views of others with its elegance, it is recommended to observe some rules:
- First of all, the French line is drawn by defining the central axis of the finger;
- Then, from this point, curved smiles are displayed symmetrically on the sides;
- Also pre-set the end points of smiles;
- In the classic version of the French manicure, the length of the white part should be at least 2 times less than the base.
The main component of a neat and beautiful French manicure with gel polish is the high-quality processing of the nail plates. The durability of a manicure will depend on this. Read more about how to properly prepare your nails for coating.
Nail preparation
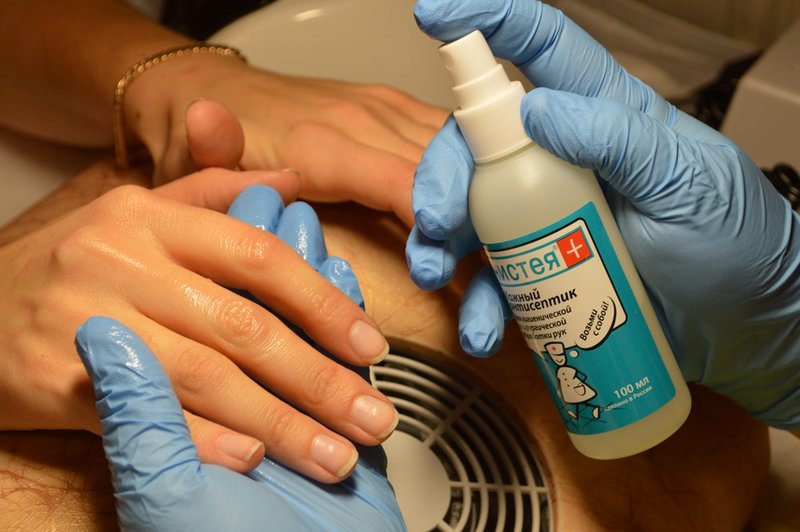
To begin, treat the nails with a disinfectant. At the same time, make sure that the antiseptic does not fill the plates of the marigolds, as the product has a strong moisturizing effect. If they are heavily moistened, this will weaken the interaction of the nail plate with all applied varnish layers.
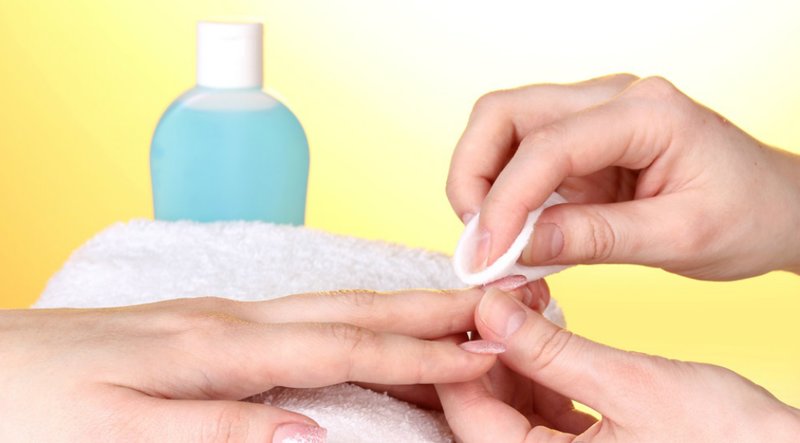
At the next stage of nail preparation, if necessary, the old coating is removed. Soak a sanitary napkin in gel polish remover and moisturize each nail.
After that, pry off the old layer with a special manicure stick and remove the varnish. If the previous manicure was done using the apparatus, the old layer is removed using a cutter.
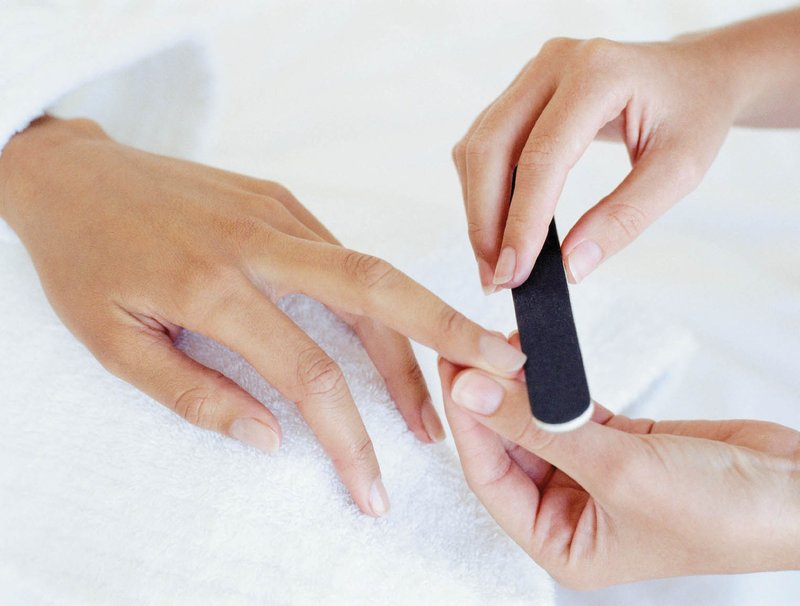
Before processing the cuticle, it is necessary to align the edge of the nails. Try to get the same shape and length on all ten fingers. Experienced experts recommend leading the nail file in one direction, this will help to avoid the formation of gel polish detachments.
Cuticle Processing
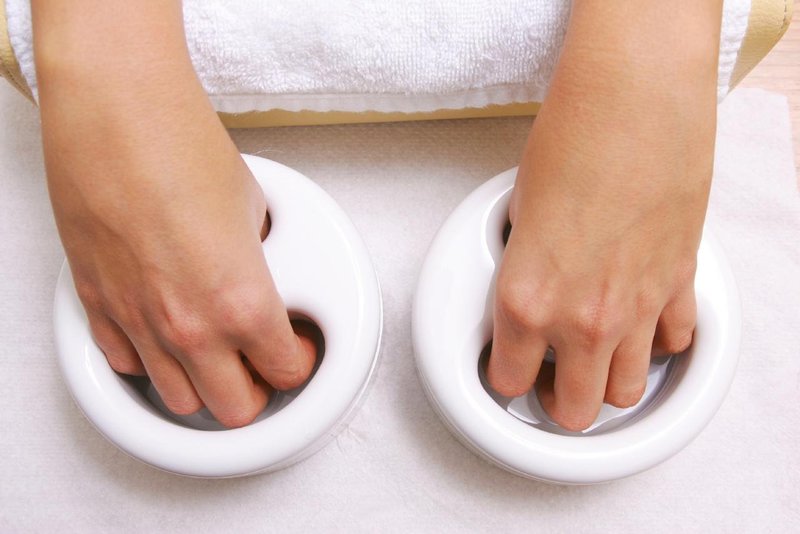
Around the nail is applied a transparent tool designed to remove the cuticle. After all fingers are processed, they need to be lowered into a bath of warm water so that they soften.The composition of this fluid contains substances that contribute to the painless cleansing of pterygium and cuticles. For the remedy to work, hold your hands in warm water (30-40 degrees) for about 5 minutes. After the time has passed, wipe your fingers dry.
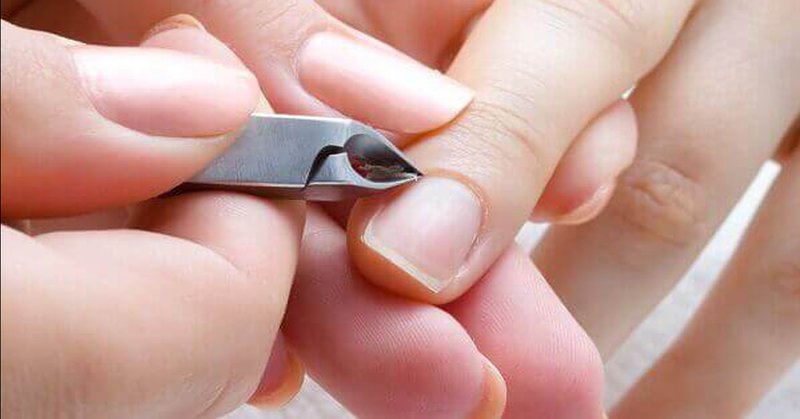
First you need to raise the cuticles, for this you need a pusher, with the help of which the cuticles are gently moved and lifted. Cuticles are cut off either with nail scissors or with a cuticle.
When processing the cuticle, the tool must be kept at one angle, in which case the cut line will be flat, not intermittent. This is very important, since it is the uneven line that is the main reason for gel varnish to flow behind the cuticle, as a result of which burrs form. After all the fingers have been processed, with an orange stick, check if all the pterygium has been cleared. Around the nail area, apply oil and massage so that the product is better absorbed.
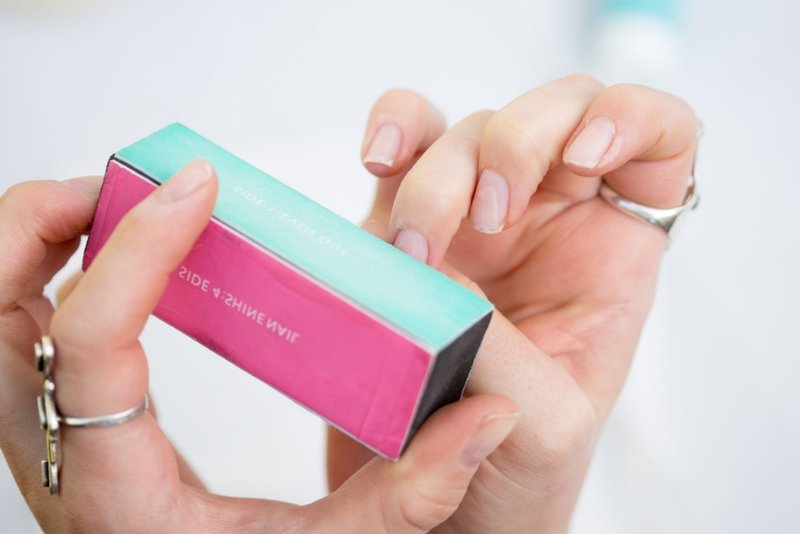
Do not forget that there is a natural gloss on the nails. However, when applying gel polish, it must be removed. In order not to injure the nail plate, it is best to use a buff.
With light movements, walk the tool several times throughout the nail, removing the protective film. Grinding also needs to be carried out with sufficient quality, reaching all the edges of the nail, since skipping even a small area can cause gel polish to detach.
Apply primer and base
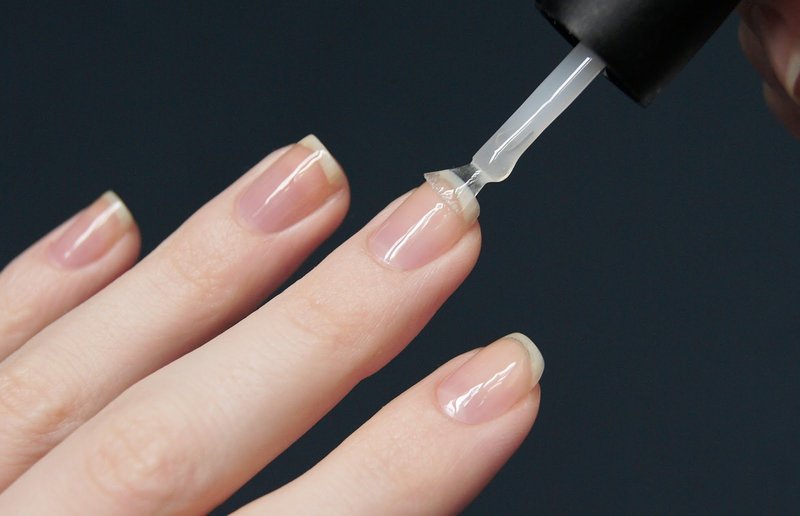
After the gloss is removed, the excess residue is removed with a brush, then a dehydrator is applied to the surface of the nail. This tool degreases the surface, thereby enhancing the interaction of the nail with gel polish.
Before applying the main composition, the nail plate is recommended to be further strengthened.
A firming transparent agent (primer) is applied to the nails, with the help of which the plate after polishing will not be too thin. The primer is also dried in a UV or LED lamp. The time depends on the type of product used and the type of lamp, but, as a rule, is 30-60 seconds.
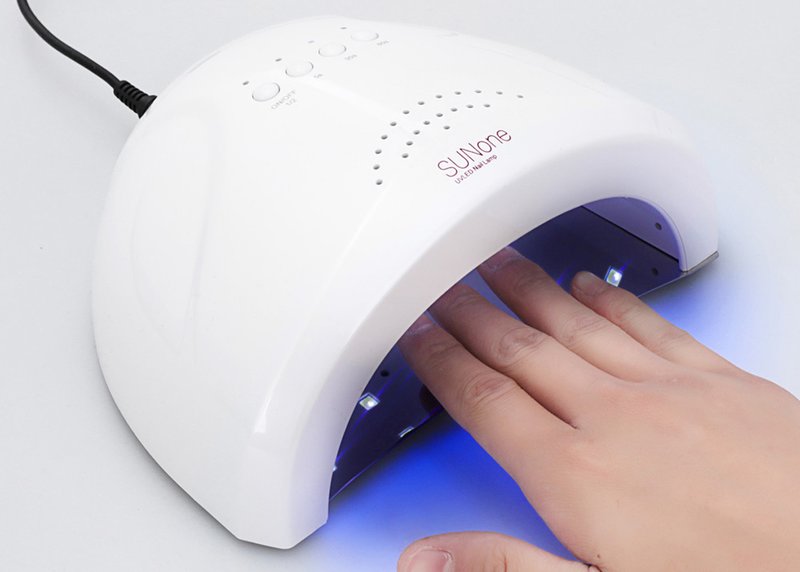
The base is applied in a thin layer. It should be extremely accurate and careful so that it does not flow beyond the limits of the nail. The base material may be transparent, white or beige. Also, with its help, you can create glare that perfectly blends with French manicure.
Immediately after the base is applied to the nail, it must be dried in a lamp. It is important to ensure that the base does not slip. To do this, try to keep your finger in an even position. The base in the lamp dries for about 1-2 minutes.
We draw a french
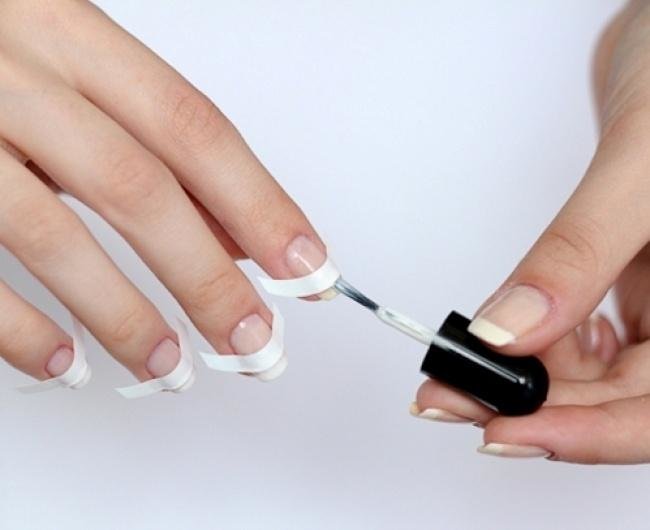
There are many possibilities to simplify your work when drawing a jacket. Only professionals can paint a perfect smile for a French manicure with a brush, without using special tools.
You can draw a French line:
- Special manicure brush with a flat end;
- Stripes (stencils). At home, you can make homemade strips of narrow tape, electrical tape, masking tape and adhesive tape;
- Tips.
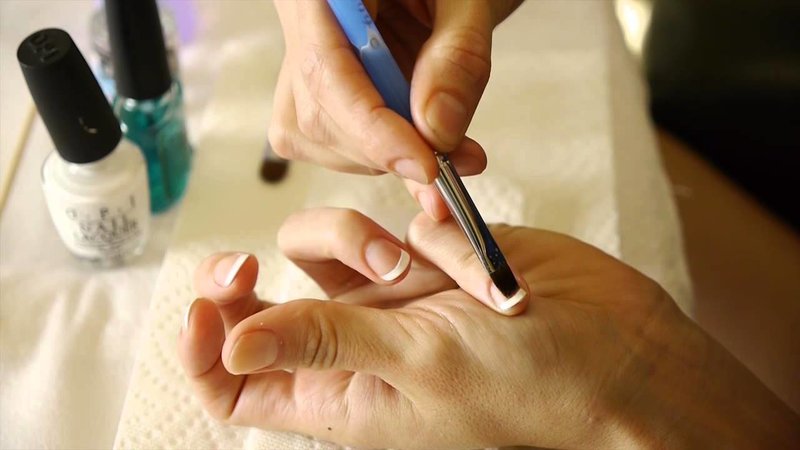
French gel polish is done with a brush. It can be made from column fur or sable, also suitable with nylon bristles. Before drawing, it is recommended to flatten the brush on both sides, in which case the line will turn out to be clearer. Brush is applied, starting from the periungual ridges to the middle of the nail, after which they are connected by a line parallel to the base.
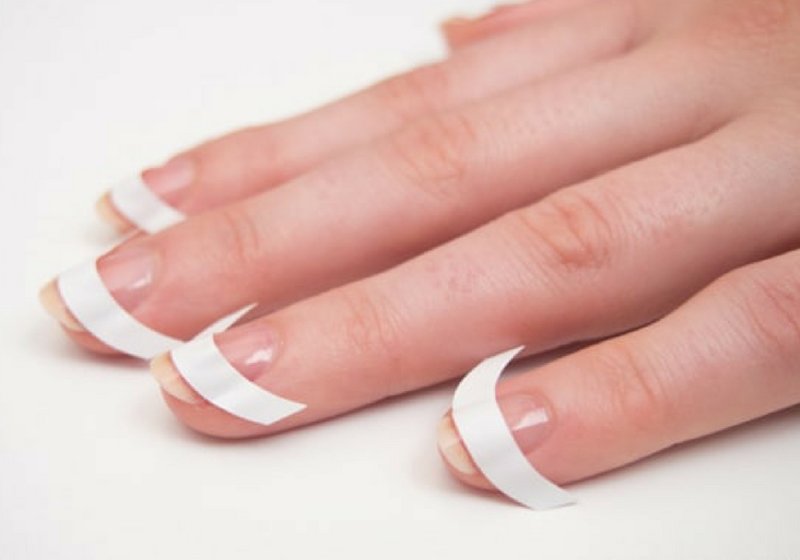
French manicure is also created in strips (stencil). Such devices are sold in cosmetic stores and are thin strips of self-adhesive paper. As a rule, they have an arched shape.
They are very easy to use: separate from the base and press the adhesive side to the nail so that the tip remains free. Fill the tip of the nail with varnish and put in the lamp, then remove the strip. If you did everything right, the line will be neat. So process all the nails.If you do not have time to buy ready-made strips, and you need a beautiful manicure today, you can use improvised means, for example, thin tape or tape, masking tape or adhesive plaster.
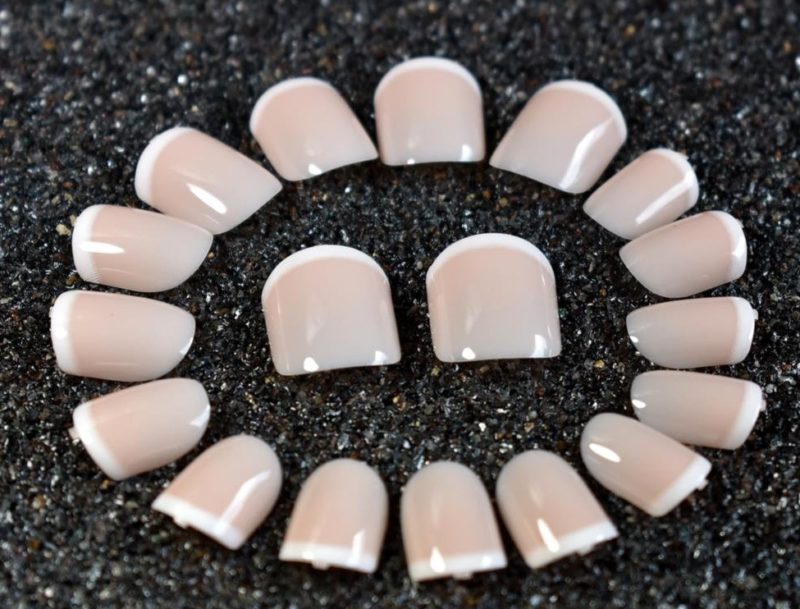
French manicure is done with nail tips. These are such special devices from a plastic holder with a jacket already painted. The technology of use is simple:
- Prepare your hands in the usual way;
- Choose tips that fit the shape and size of your nails;
- Apply glue to a white strip and press it to the nail;
- Then break the transparent holder and process the edge of the false smile with a glass nail file;
- Then treat the nail with a degreasing agent.
Apply the top and remove the sticky layer
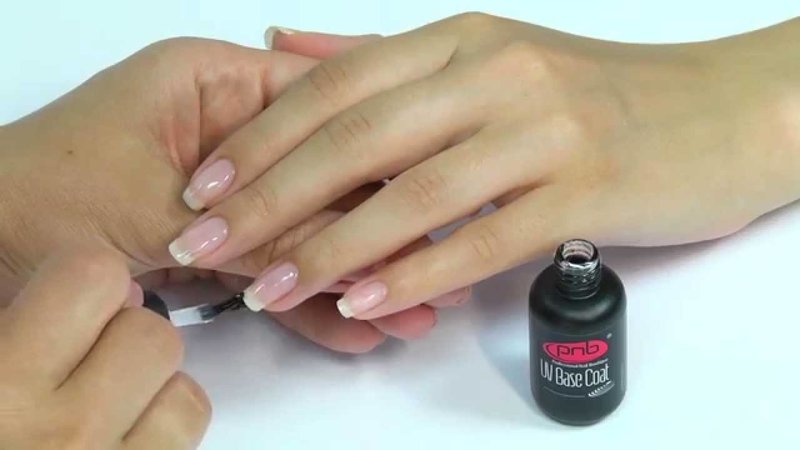
After the gel polish is dried, and the design of the French manicure is finished, the coating must be fixed with a layer of top. The product must also be dried in a lamp.
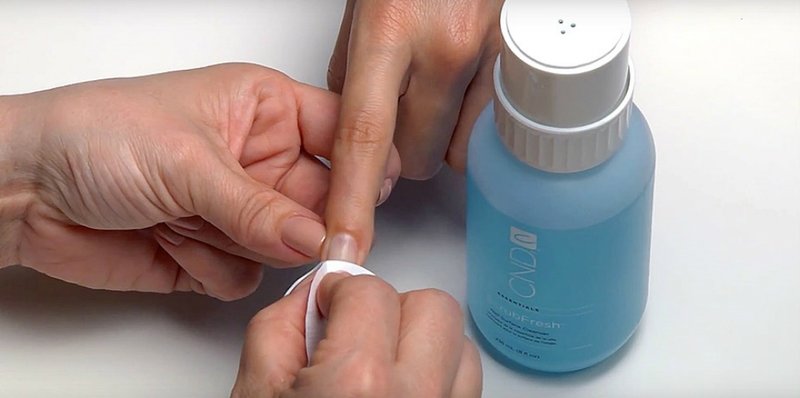
The adhesive layer is removed only at the final stage of the manicure jacket after polymerization of the top layer.
At the final stage, remove the sticky layer from the French manicure. Many girls mistakenly assume that it is necessary to remove the layer after applying the base. However, it is thanks to the sticky layer that all the stages of the manicure - the base, color layers and top - are well bonded to each other. If you remove the dispersion ahead of time, the manicure will lose its strength, the gel polish will begin to exfoliate from the nail.
Ideas for french manicure gel polish
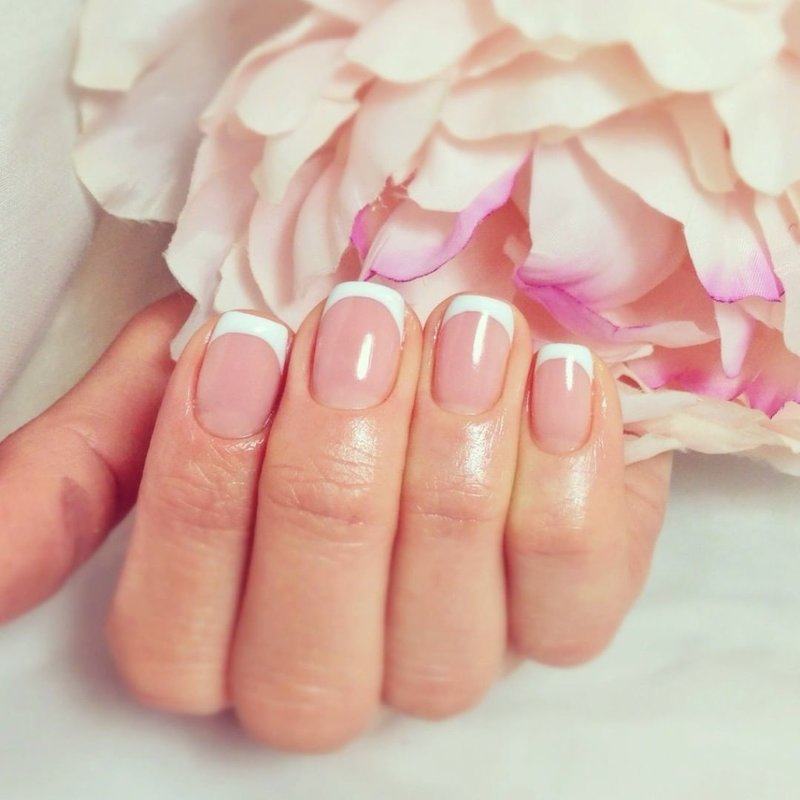
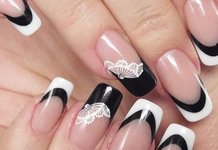
Classic French gel polish - staining the nail with a transparent, beige or pink base, and its tip - white. It is considered a universal type of French manicure, which gives the girl elegance and naturalness. However, in recent years, modern fashion has expanded the range of colors of the jacket.
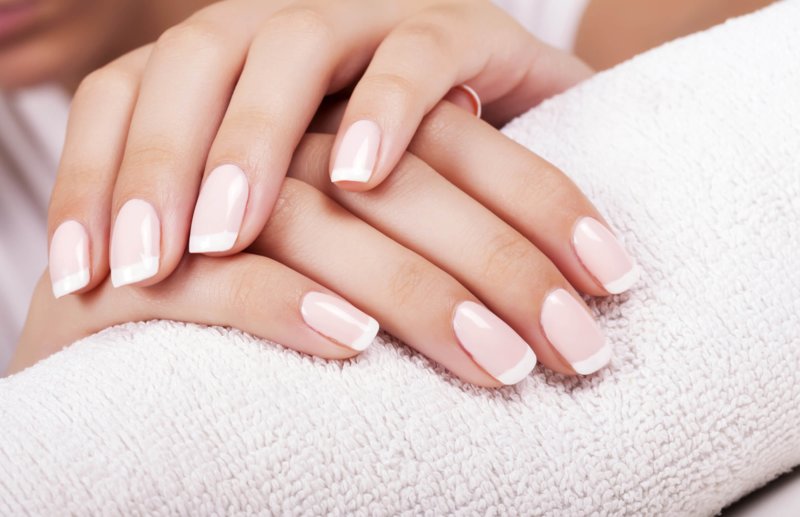
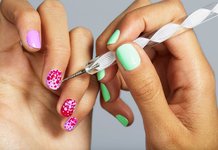
French with rhinestones or with neat accessories can gracefully emphasize any length of the nail, especially the short one.
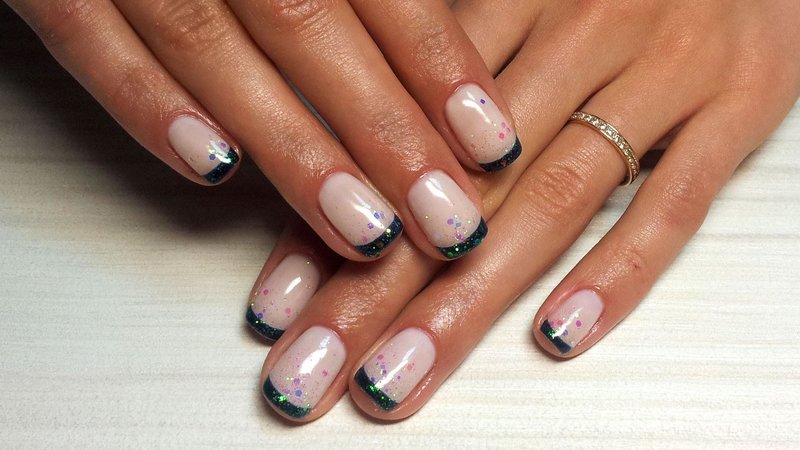
You can decorate such a manicure in a variety of ways: using mosaics, broken glass, colored and iridescent foil, stones. French manicure, which is decorated in this way, will only look richer from this. This is ideal for those who are tired of the classic version.
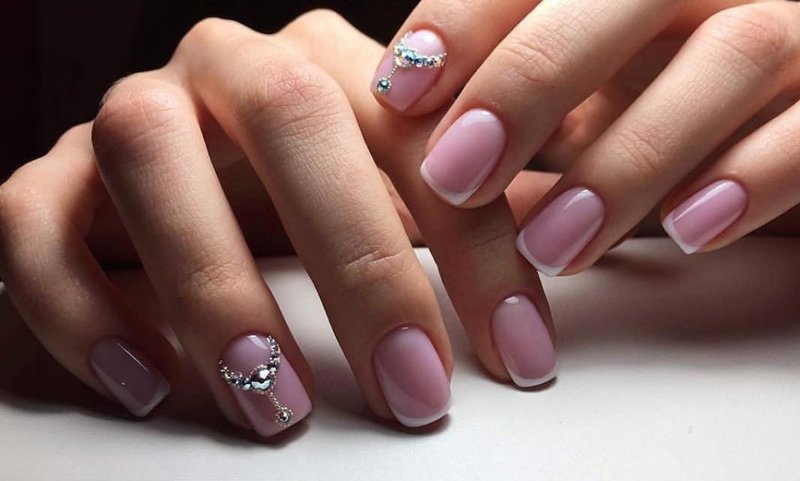
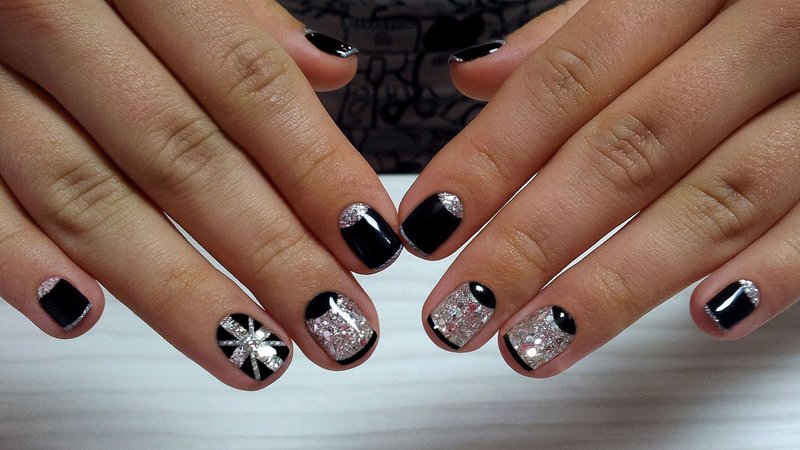
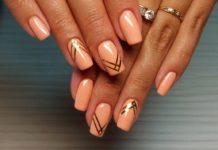
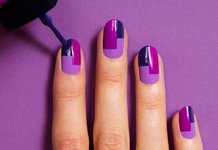
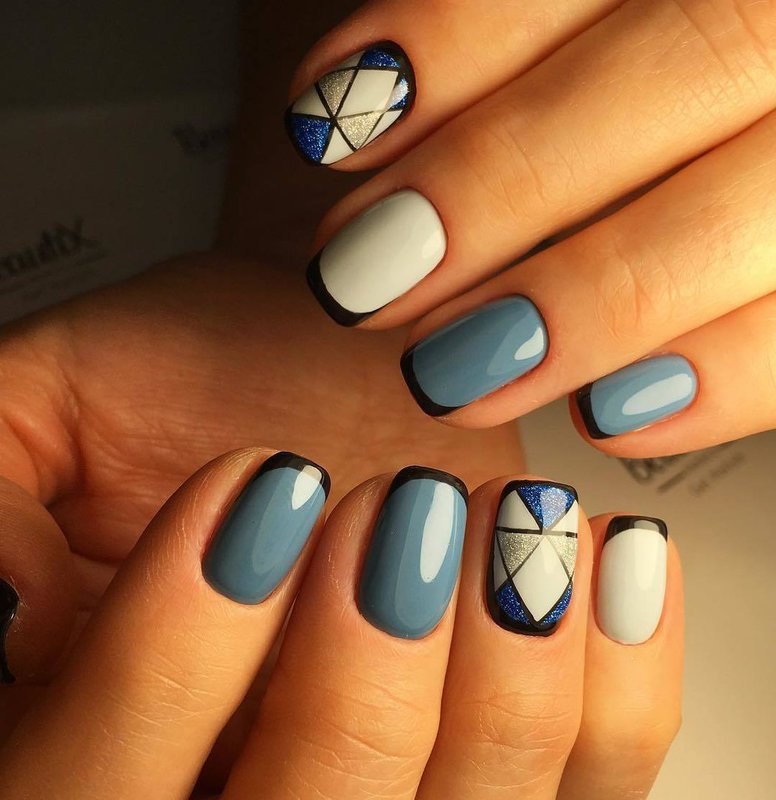
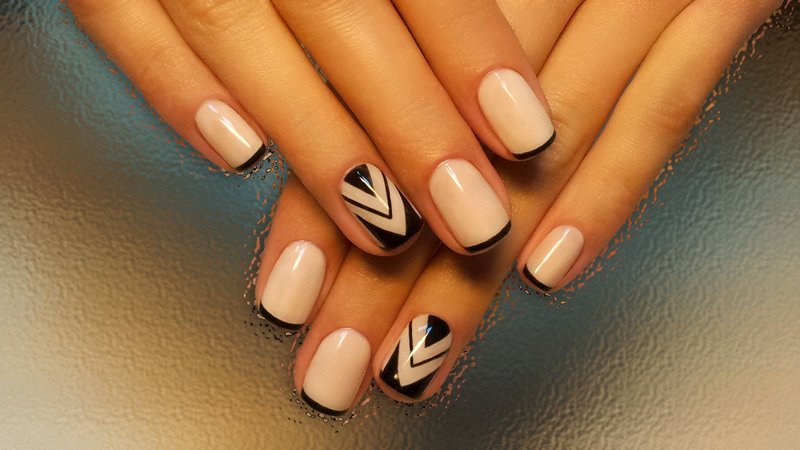
One of the most fashionable trends for 2024 is geometry on the nails. Using this technique, a girl can create a beautiful and unusual, but at the same time minimalistic design on her nails that is not overloaded with details.
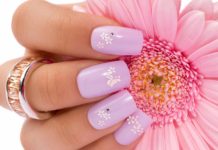
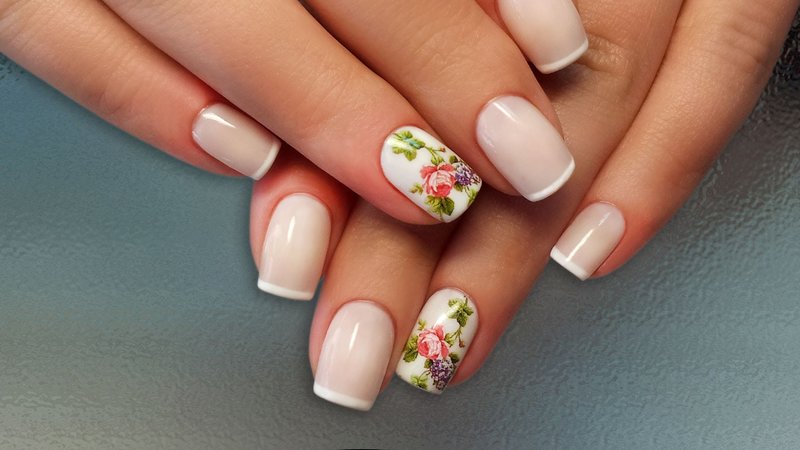
Very popular to apply on a French manicure. floral print. For a gentle look, choose pink flowers: lilies, roses, violets or tulips. Usually, the ring finger is distinguished by this design, and all the others are made in a more classic style.
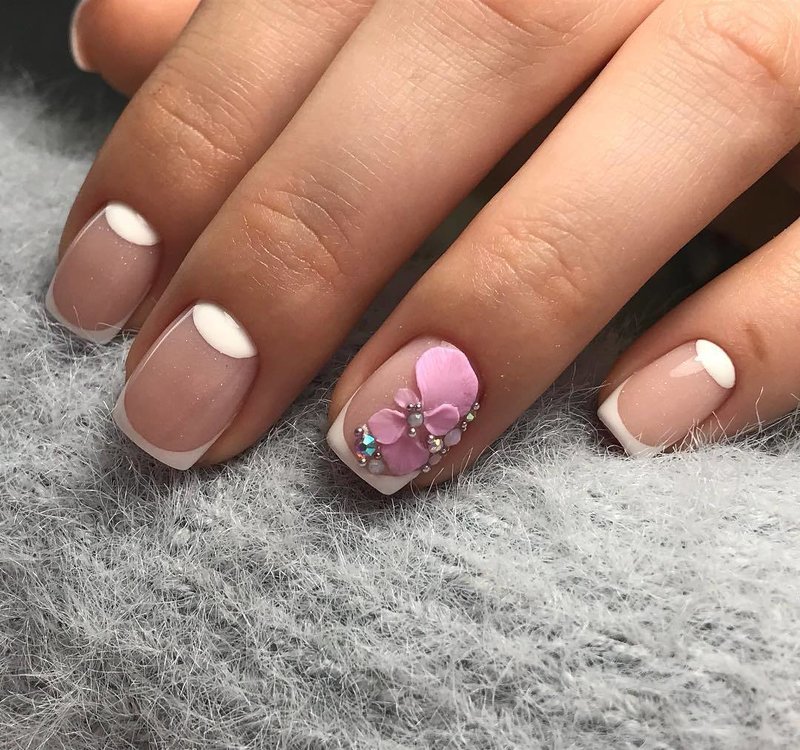
The combination of French and moon manicure - A true classic of the genre in nail art. Such a jacket looks great on any length of the nails.
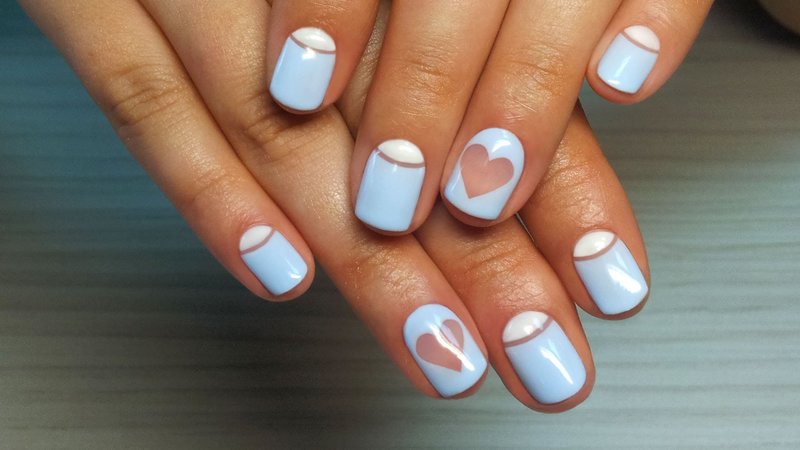
There are no restrictions on how you can experiment with this design. It can be graceful and thin lines of holes and smiles, as well as a reverse jacket or an unusual color substrate.
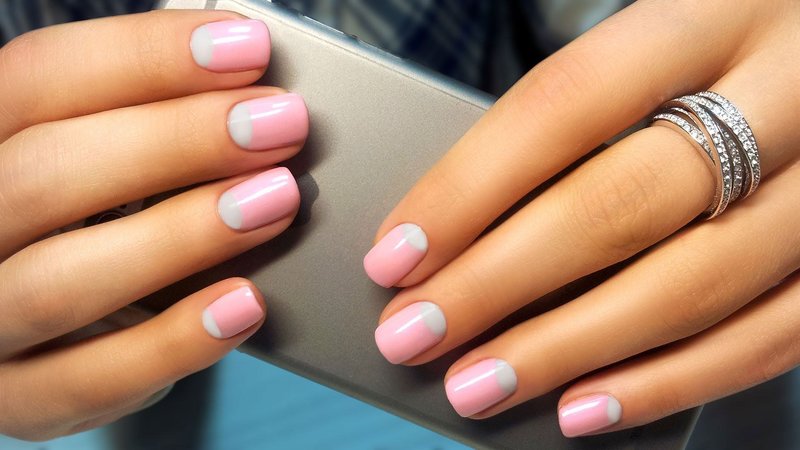
French manicure with gel polish will sparkle with new colors if you change the standard shade to bright and rich colors. Marigolds can be covered in one tone, you can also add geometric lines.
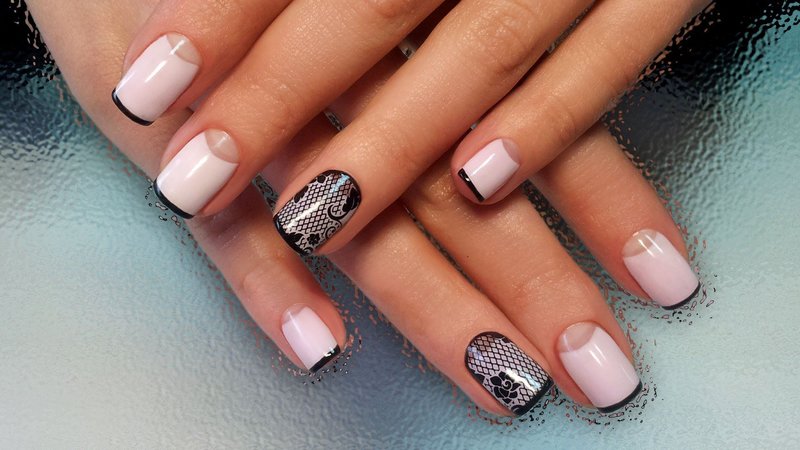
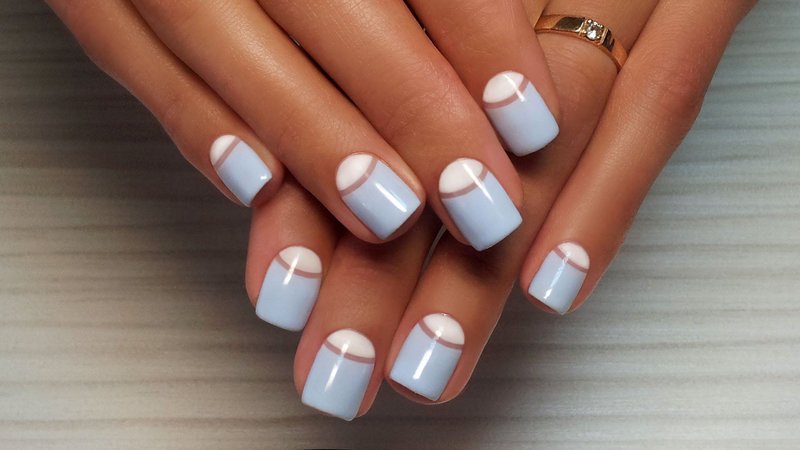
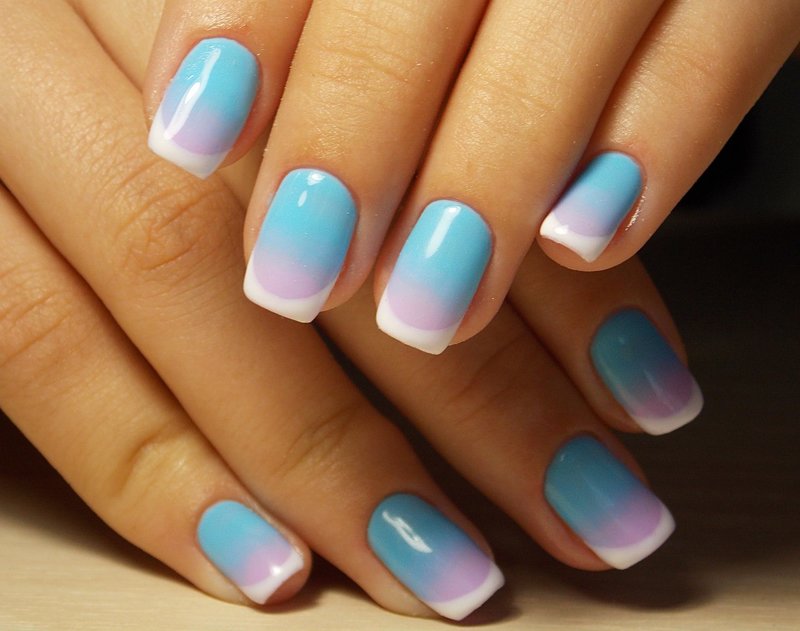
Color tint You can design not only the tip of the nail, as in the classic French, but the entire nail plate.
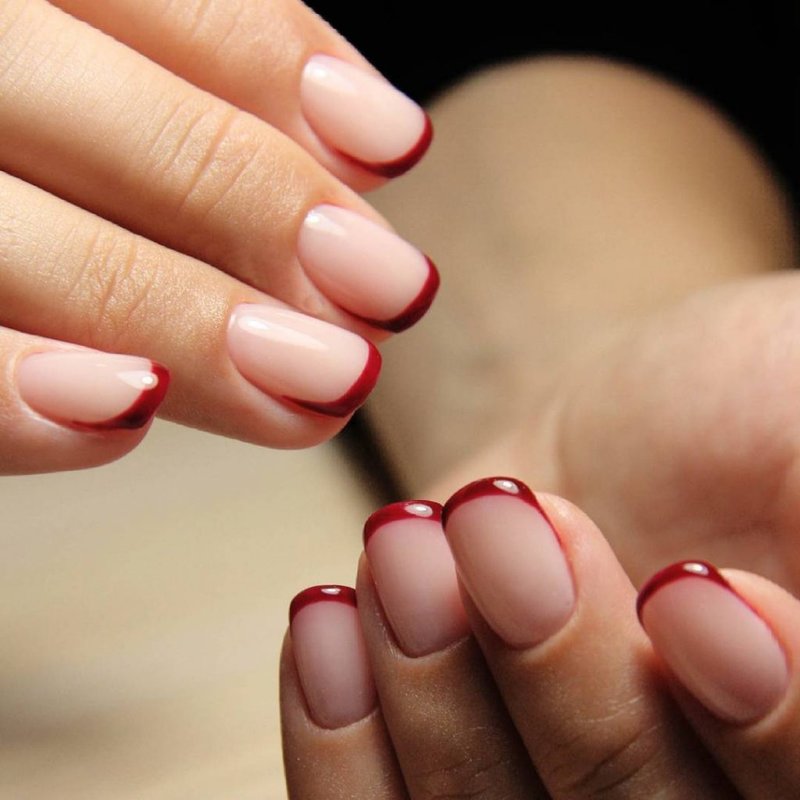
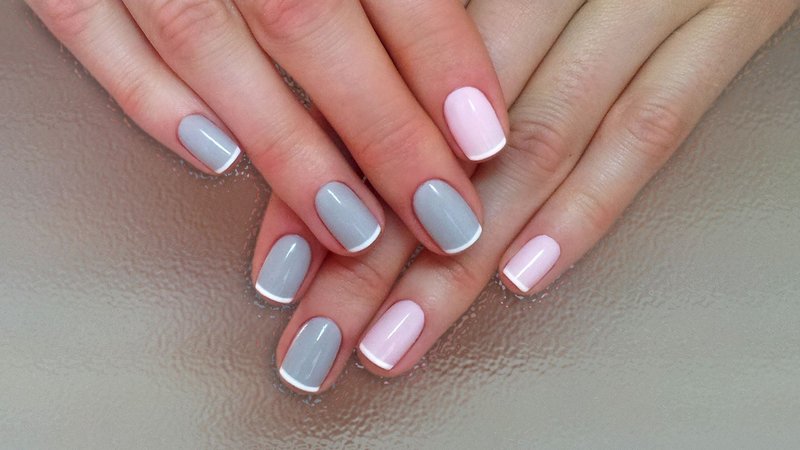
One of the original options is the double coloring of the tips, when parallel lines are applied in different colors. Usually contrasting shades are selected.
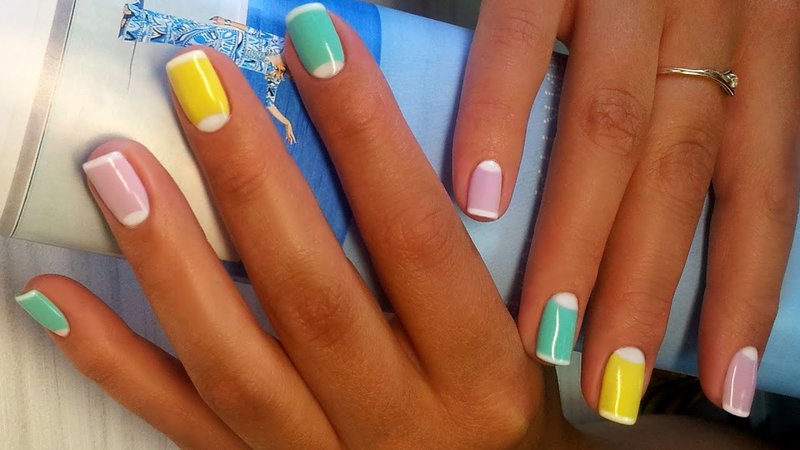
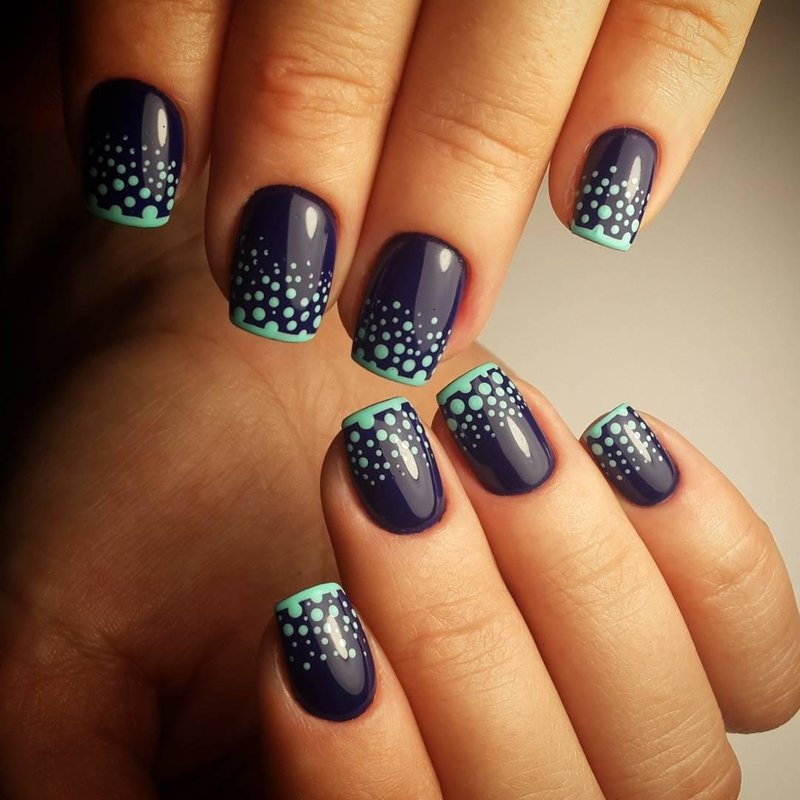
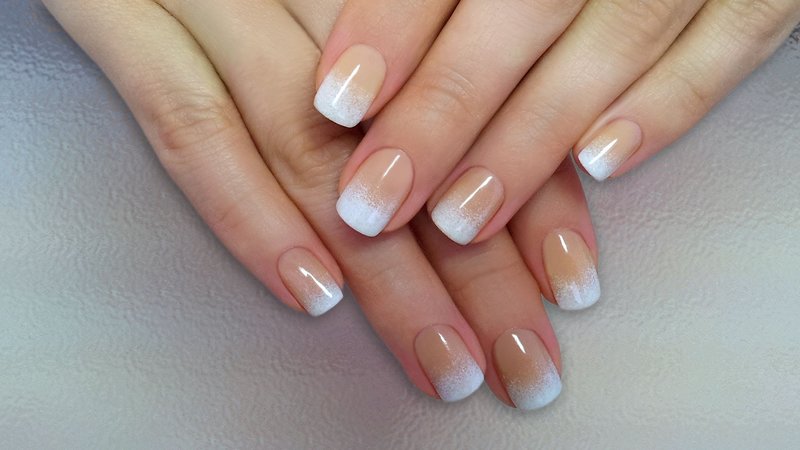
With gradient french manicure, the line is decorated with a smooth transition. You can also combine the gradient with different techniques in nail art: geometric lines, decoration with rhinestones, etc.
To diversify the pastel and calm shades of the jacket, you can make a soft transition from the natural color of the nail to saturated white. This kind of ombre looks unusually beautiful on tanned hands.
