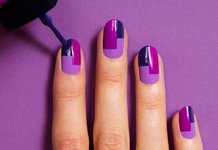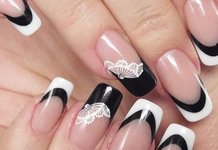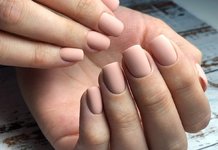
Gel nail extension is the process of increasing a natural nail using artificial materials (nail tips, shapes). The procedure takes from an hour to two. You can carry it out in the cabin, or you can do it yourself at home. We will talk about how to properly grow nails in an article.
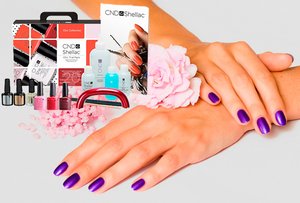
CND Shellac shellac kit is what you need to cover your extended nails with color.
The extended nails do not have to be coated with colored gel on top. Often, shells are used for these purposes. In the palettes, gel polishes and shades are larger and easier to work with.
Ways to build nails
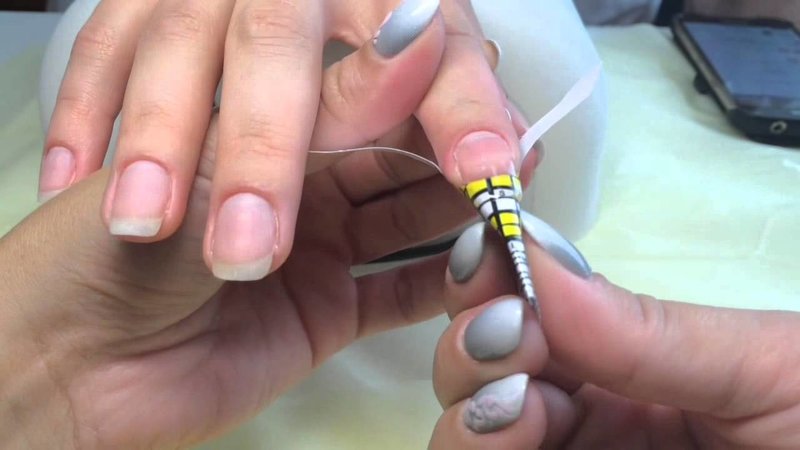
There are two types of nail extensions: gel and acrylic. The latter is cheaper and the operating time is faster (approximately 30 minutes). Today, women use the services of masters for gel nail extension.
The length of the natural nail is increased by:
- tips;
- forms.
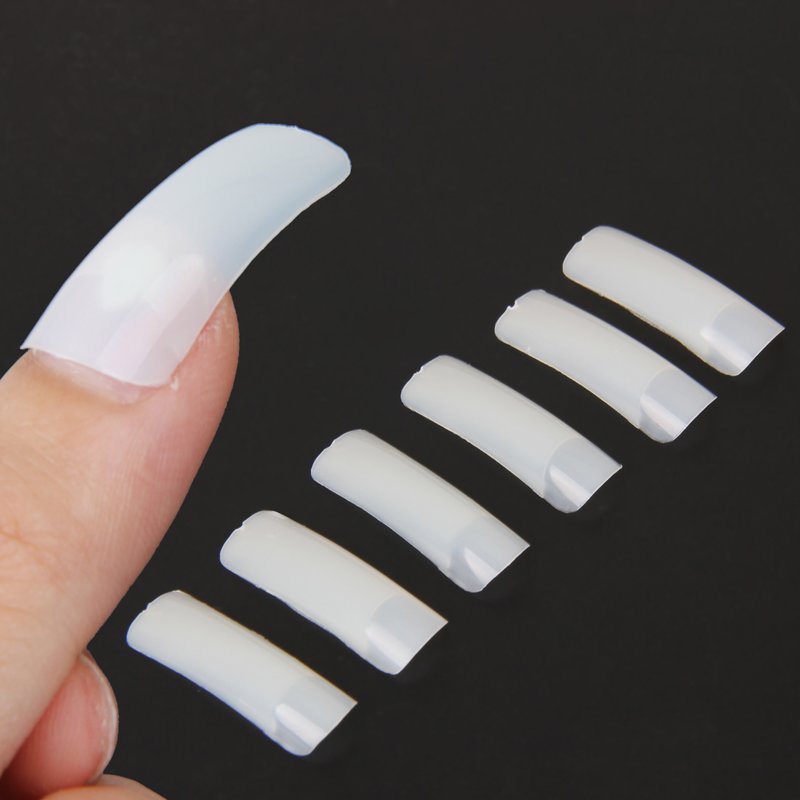
Tips - artificial false nails made of plastic. They are attached to a natural nail with glue and then trimmed to the desired length. The following forms can be made of them:
- oval;
- stylet (pointed shape of the nail);
- semicircle.
Tips They are used both for gel extension and for acrylic. The classic material for their manufacture is ivory. Tips for French manicure are sold separately, they are attached to the nails and then nothing can be changed and fixed.
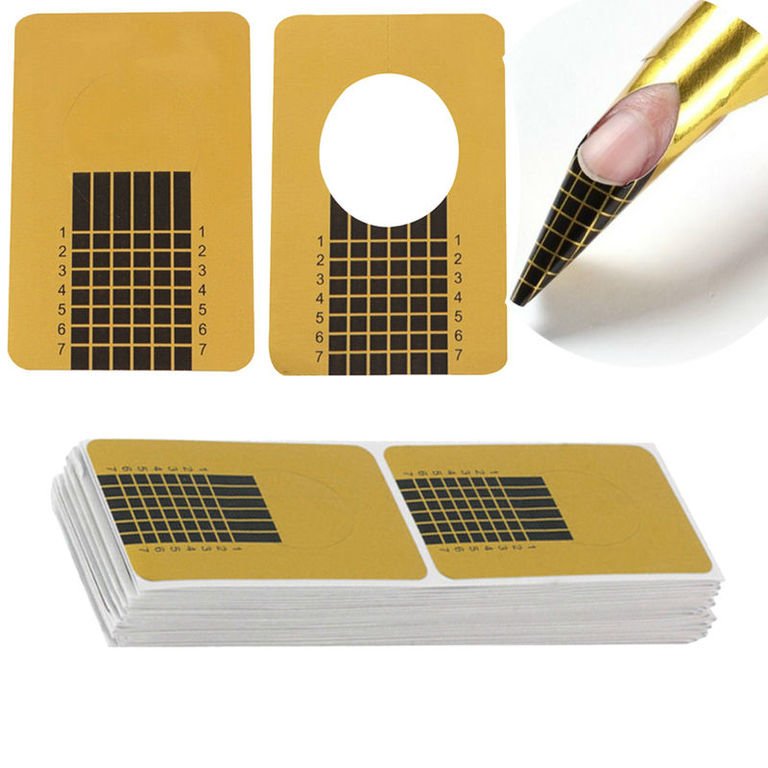
Gel nails can be applied on forms. They come from:
- paper;
- metal;
- plastic.
Paper extension forms are sold in packages (50-100 pieces). They are used according to the scheme: one form - one use. The advantage of gel extension on forms is the ability to create an individual size and design of the nail.
Metal forms can be used several times. They are made from a material such as Teflon. Using a metal mold for building, the master models the desired shape of the nail. After the material hardens, the mold is removed and filed to the desired design.
Paper and metal types of material are used as lower forms for building in salons. For home creating beautiful nails, external and upper forms are used. The material from which they are made - plastic.
Necessary tools and materials
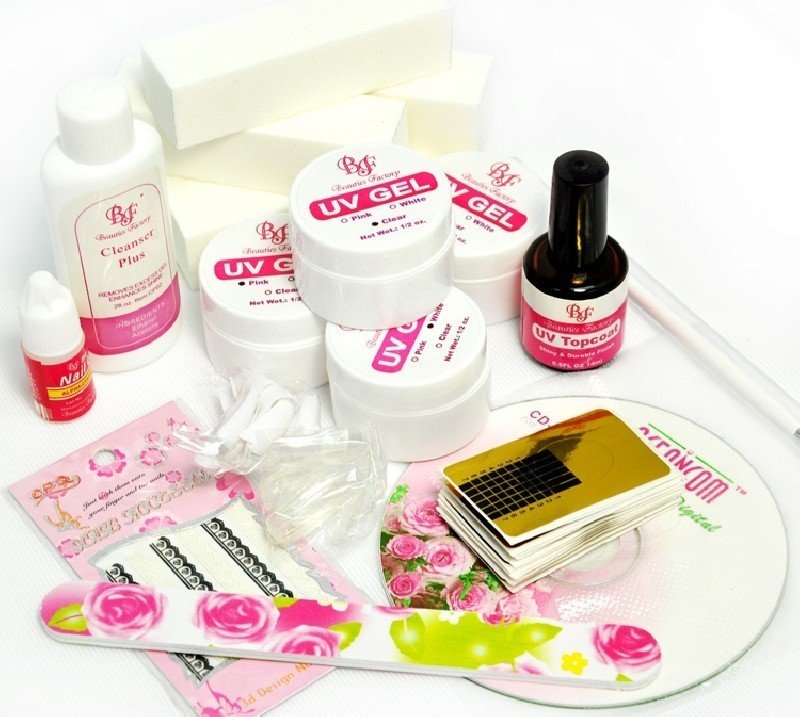
To build gel nails at home, you need to prepare high-quality materials and tools. The period during which the nails will hold and how soon correction will be required depends on them.
Gel nail extension tools:
- Ultraviolet lamp;
- nail files;
- nippers;
- four-sided buff;
- pusher;
- orange stick
- boat;
- brushes;
- a brush.
In addition to tools for gel nail extension at home, you will need to prepare and materials:
- gel;
- tips or forms;
- a primer;
- degreaser;
- napkins;
- the finish;
- cuticle oil.
After preparing materials and tools, you can proceed to gel nail extension. Consider the stages of the procedure for modeling nails on forms.
Stages of nail extension with gel on forms
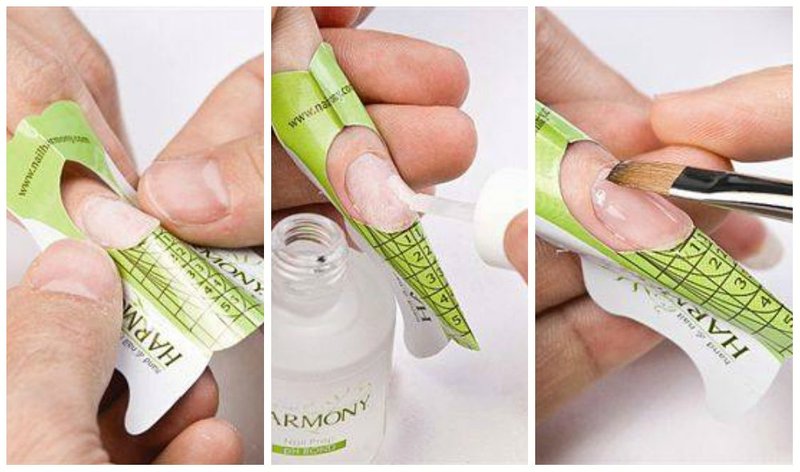
The process of nail extension consists of several stages. If you follow the sequence correctly, then the manicure will turn out beautiful and will last a long time.
Stages of gel nail extension on forms:
- Preparation of natural nails.
- Selection and preparation of suitable forms.
- Nail modeling.
- Removing the mold and removing the sticky layer.
- The final stage.
The process of nail extension with gel on the forms is similar to increasing the length of the nail plate on the tips. The difference is in creating an S-shaped bend. Necessarily before starting the procedure, the nails are degreased in both cases of extension (on tips or forms).
Let us consider in more detail the process of modeling artificial nails using forms.
Preparation of natural nails
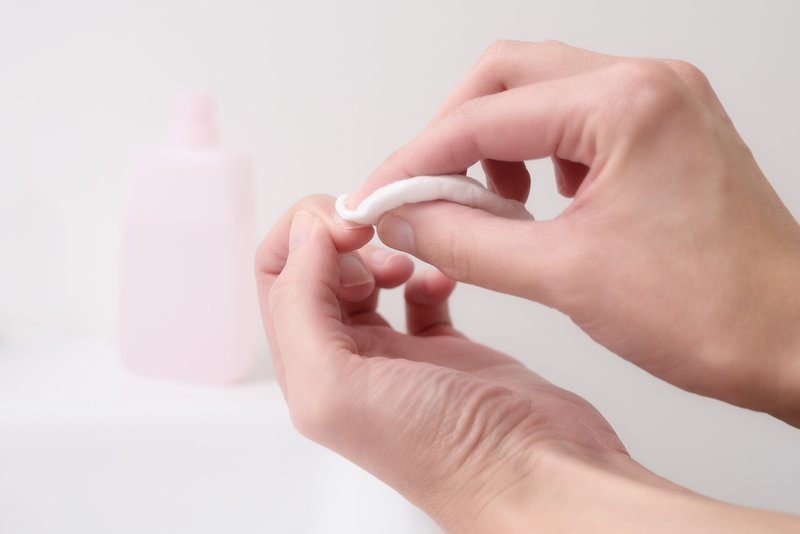
Before starting the nail extension procedure, they should be prepared. The first step is to treat the natural nail plate with an antiseptic or degreaser. Can be used:
- a primer;
- dehydrator;
- special liquid for degreasing nails;
- boric acid;
- alcohol.
The latter remedy is recommended to be used extremely rarely. Alcohol is very dry skin and nail plate. The best tool that is recommended to be used for degreasing the nail in the process of nail extension with gel on the forms is primer.
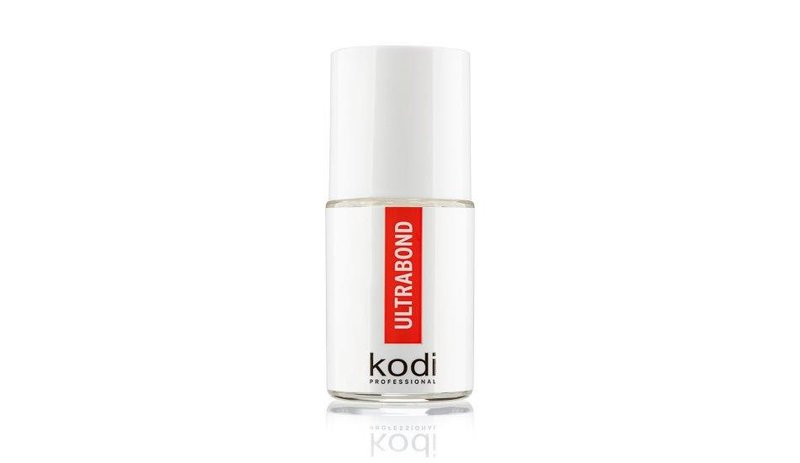
After degreasing a natural nail, take an orange stick and move the cuticle away. After we file the nail plate to the desired shape. Then, gloss is removed from the upper surface of the nail. This is done using a four-sided buff.
The final stage in the preparation of the nail is re-treatment with antiseptic agents.
Selection and preparation of suitable forms
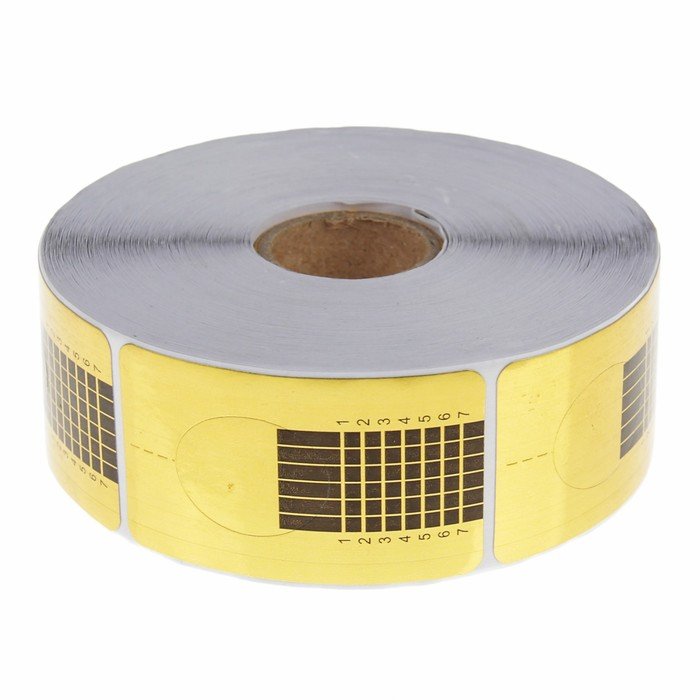
One of the important stages of gel nail extension is the choice of shape. A woman can use a paper, metal or plastic form. The most convenient form of form is paper. It is used once and thrown away.
After choosing the right form for nail extension with gel, it is important to install it correctly. The success of the procedure for lengthening a natural nail will depend on the process of correct fixing of the material.
We offer several Tips for installing the paper form correctly:
- If it is a solid foundation, then we select a suitable shape and carefully insert it under the nail;
- If the form has a soft base, then before installation it should be adjusted. We take scissors and cut a special hole for the size of the nail plate.
Be careful when modeling soft base forms. There should be no gaps, otherwise the gel will leak and the building will be damaged.
If the nail plate is thin, then 2 forms are fastened together for density at once. This method will make the build more stable and strong.
Nail modeling
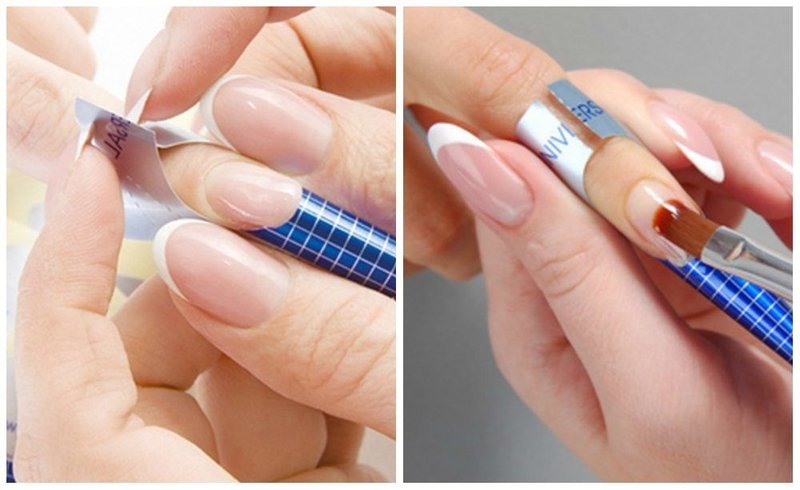
Novice masters are encouraged to draw each nail individually. Masters can simulate 4 nails and form thumbs at the end. Thumbs are formed last of all so that the gel does not drip down and spoil the shape of artificial nails.
After preparing natural nails for gel extensions and choosing suitable forms, we proceed to the third stage - modeling. Apply the gel to the forms, adhering to the rules of building.
The material is applied to 3 areas of the nail:
- Cuticle. 1/3 of a natural nail;
- Stress area. We fill 2/3 of the nail plate, and in particular the area where the nail and the shape are in contact. Fill 1/3 of it;
- The form. Gel the rest of the form.
The scheme of applying the gel at the stage of modeling the nail:
- Using a brush, apply a thin layer of gel in the area of the cuticle;
- In the stress zone, the gel layer thickens. At the junction of the form and the natural nail, the material is applied very densely. This is done to seal the natural nail;
- The rest of the form is painted over in a small layer.
After applying the gel to the nails, we fix it in a UV lamp.The residence time of the fingers in it is at least 2-3 minutes. We pass to the next stage of nail extension.
Removing the mold and removing the sticky layer
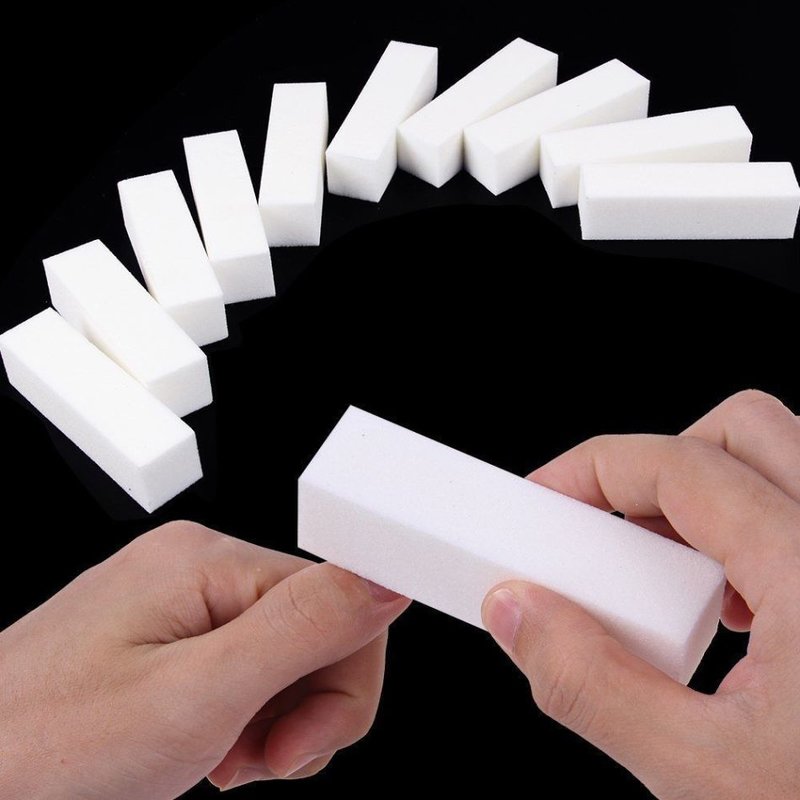
After fixing the gel in a UV lamp, the mold is removed and the nail is sanded to the desired length. We polish the nail to create a smooth surface. This step must be completed before applying camouflage gel.
The sticky gel layer is removed by sanding. Subject to the sequence of stages, the nails will be ready for the final stage of gel extension on the forms.
Final stage
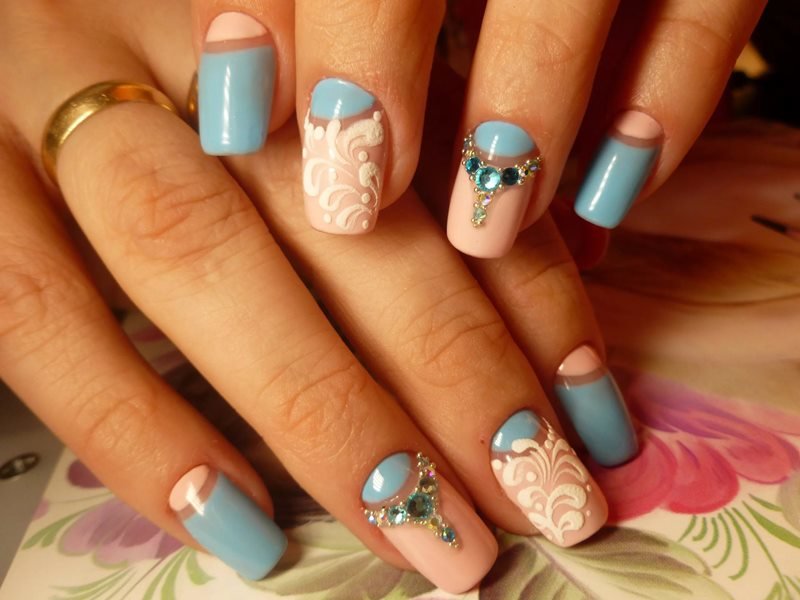
At the last stage of gel nail extension, a colored gel is applied at home and the desired pattern is created. The number of layers of camouflage material depends on the color density. As much as 2-3 layers can be applied to the nail.
Each layer of camouflage varnish is dried in a UV lamp.
If a woman wishes, then at this stage you can draw a design. If only color is provided, then the step is skipped. We apply the finish gel and dry it in the lamp. It is recommended to increase the residence time of the nails in the lamp so that all layers of the gel are fixed. The process of gel nail extension on the forms at home is completed.
Nail care after gel removal
Nail extensions can not be done constantly, every 6-8 months it is recommended to take a break for 1-3 months. During this time, the nail platinum "rests" and is restored. And to make this process faster, you can use additional funds for the care and treatment of nails.
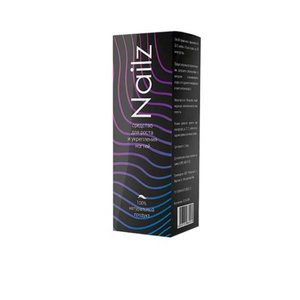
Nailz
Nailz for growth and strengthening of nails should be used regularly, even during those periods when the gel or gel polish is on the nails. It will protect the structure of the nail.
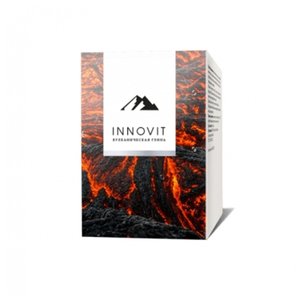
Innovit
This anti-aging complex for hair, skin, nails can also be used while the gel is on the nails. It will strengthen the immune system and prevent the nails from entering the phase of destruction.
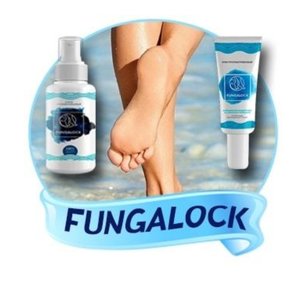
Fungalock from nail fungus
Sometimes there is a fungus that should be treated immediately, because it delivers a lot of discomfort: from an unpleasant odor to itching and peeling.
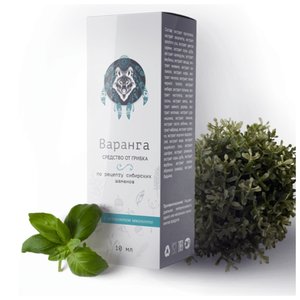
Varanga - another remedy for fungus
The drug Varanga has proven itself well and is popular with our women, as it is inexpensive, and works no worse than expensive pharmacy creams.


