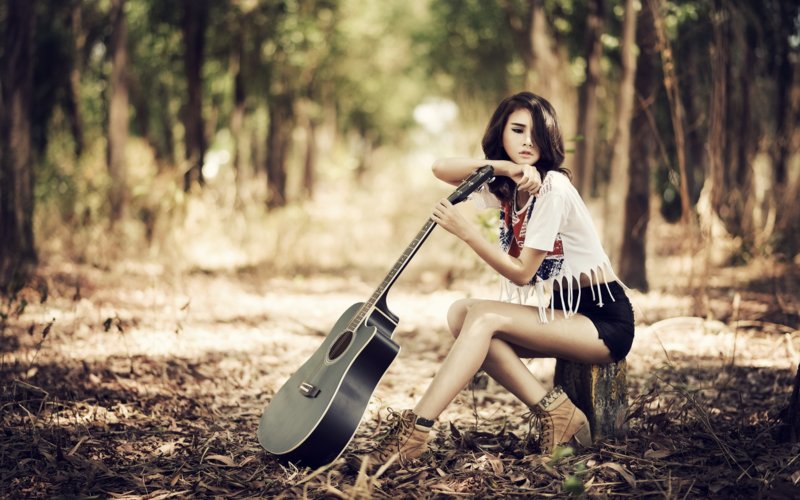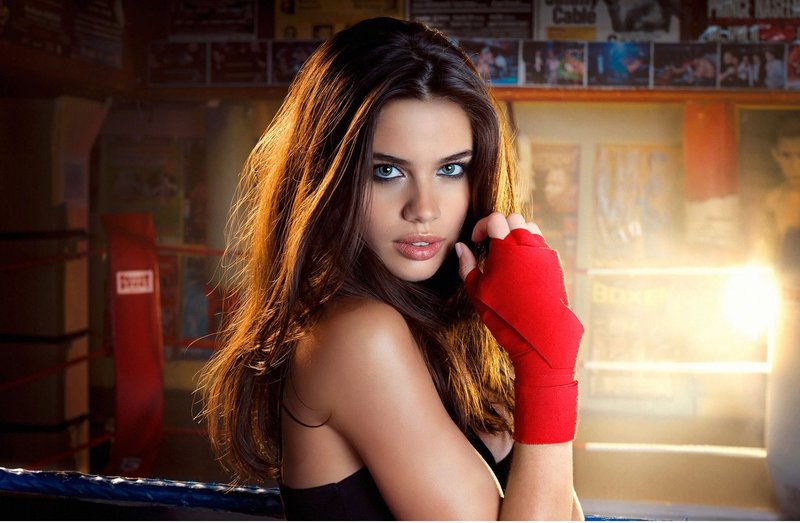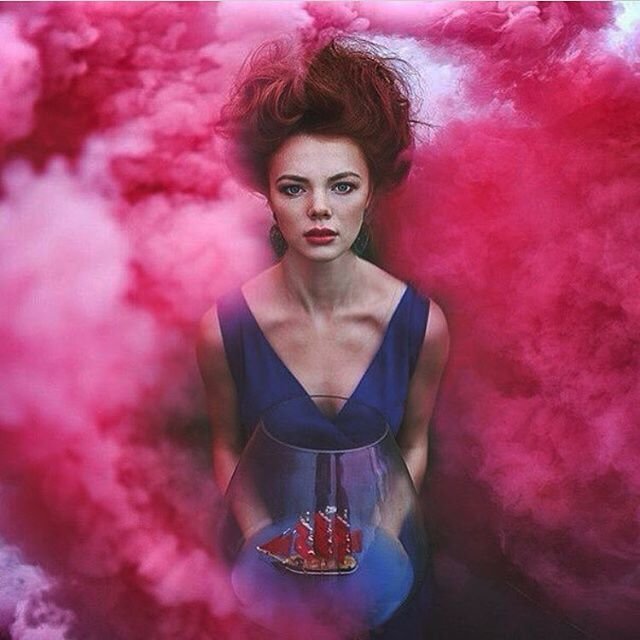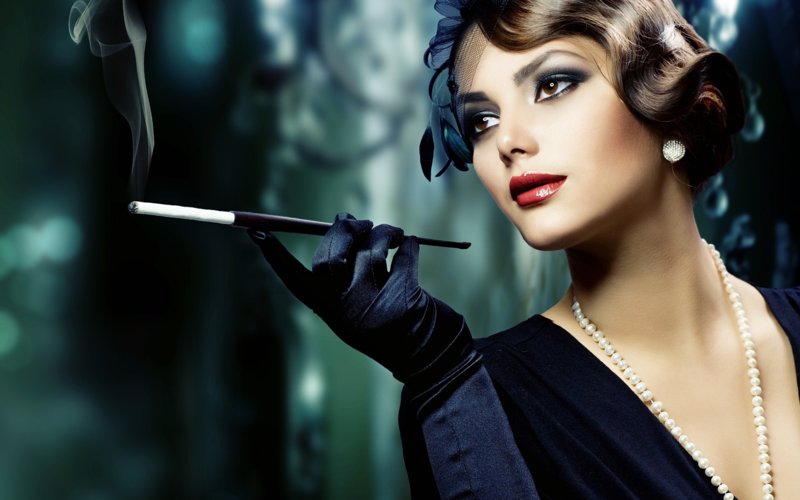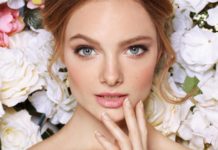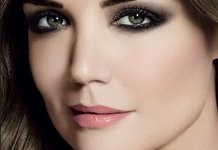
During the photo shoot, the photographer carefully selects the lighting, chooses the right angle, clothing and the environment should also be in harmony with the model. Therefore, it is imperative that makeup also matches the look.
The main differences between makeup for a photo session and the usual one is that for a photo you need to use only a matte foundation. Also, clear lines should be drawn in the makeup and the shadows, tone and blush carefully shaded. Another important difference is the complete lack of sculpting in makeup for a photo shoot.
The main rules of makeup for a photo shoot
To do it yourself, you will need a magnifying mirror. With its help, the smallest flaws are visible, and in order to get high-quality photos, they need to be masked.
The main step in makeup for a photo shoot is perfect skin. Therefore, even if you have it in good condition, a tonal foundation is still necessary. It will make the skin matte, smooth and even. However, also do not overdo it, as you can get the effect of a thick mask. Experts recommend choosing a shade half a ton lighter than the skin, as the cream darkens over time, further application of powder or concealer darkens the face.
Before starting the photo shoot, test your makeup using the camera. In the photographs you can see how it will look, whether it will change. Thus, you will understand whether you get those photos that you want or not.
Basic makeup rules for a photo shoot:
- The upper eyelashes are painted in several layers so that they look brighter than the lower ones. You can draw thin lines of arrows along the ciliary edge to make them appear thicker in the photo. If you have very rare eyelashes, you can slightly dye the inside of the eyelid;
- Carefully blend the eyeliner and the shadows, as these defects will be very noticeable in the photo;
- Pearlescent shades will look beautiful only in a professional studio with special lighting;
- Apply lipstick to wet lips.
One of the basic rules is the use of matte texture cosmetics. Even the smallest glare in the make-up can spoil the appearance and give the person untidiness.
Makeup for a photo shoot in stages
The ideal make-up for a photo is the one in which the accents are correctly placed, while the image is not without personality. The main thing is that, regardless of the location of the shooting, subjects, make-up was appropriate and attractive, to be combined with the image, clothes and accessories.
Not only women want to have a professional photo shoot for a long time. Children's photo shoots and men's are ordered. Men are also encouraged to make light make-up. It is fundamentally different from the female and is aimed at getting good and high-quality photos, without shine on the face and significant temporary rashes on the skin.
Skin preparation
The main tool in preparing the skin for makeup is a moisturizer. For dry skin, use a cream containing essential oils, and for oily skin, creams with a lighter consistency will go. Makeup artists recommend choosing products with SPF. Such creams will simultaneously care for your skin and protect it from the harmful effects of ultraviolet rays. The cream is applied in a circular, massage movements.
Next, you will need to take additional care of the delicate and sensitive skin around the eyes. Give preference to creams containing vitamin C, they protect the skin from free radicals. Creams with vitamin K help eliminate dark circles under the eyes. Apply them with slightly patting movements, this helps to improve microcirculation.
It is important that the make-up during the photo shoot is excellent and does not smear during the shooting. Therefore, be sure to use a primer. It contributes to an ideal tone, and also slightly illuminates the skin, creating a fashionable and natural effect of radiance at a photo shoot. When choosing a primer, it is recommended to pay attention to whether silicone is included in its composition, which interacts poorly with oil-based products. If your foundation and a water-based moisturizer, silicone-based primers are contraindicated.
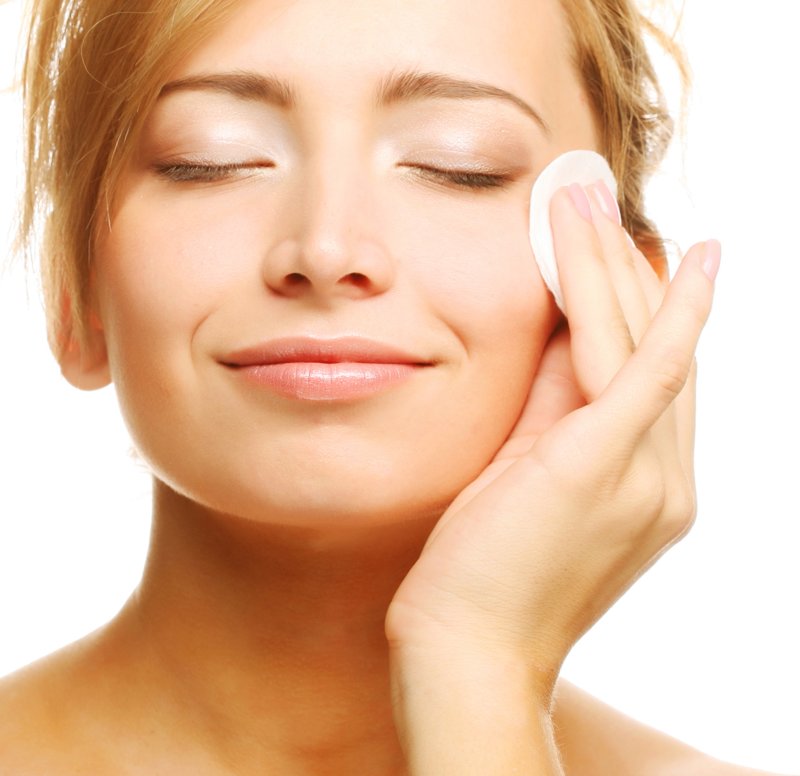
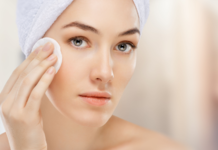
Before applying makeup, micellar water is not recommended. Since it absorbs not only dirt and grease, but also particles of makeup, which can lead to uneven coverage.
Apply the foundation
You can apply a tonal foundation in several ways:
- sponge:
- fingertips;
- tassels.
Each of the methods has its pros and cons. If you have several days left before the scheduled photo shoot, you can test each of the methods and choose the most suitable for you.
Sponge

When applying a tonal base with a sponge, a finer and more even coating with perfect shading can be achieved. If the photo shoot takes place in the evening, applying foundation with a sponge is considered the most suitable. Sponge layers the tonal base on the skin a little denser compared to other methods.
When applying foundation with a sponge, there is one significant minus - it is consumed in large quantities.
Before using the sponge, soak it in plain water and wring it out. Thanks to this trick, less cream will be consumed due to the absorbed moisture, while its surface will be as soft as possible. This will help to smooth the foundation evenly.
Then dial the base first on the hand and distribute the points over the T-zones. Thus, you can control the amount of foundation on the face, as well as evenly distribute throughout the face.
With light patting movements, spread the foundation over your face. Direction - from the center to its periphery, try to avoid getting on the eyebrows and hairline.
With fingers
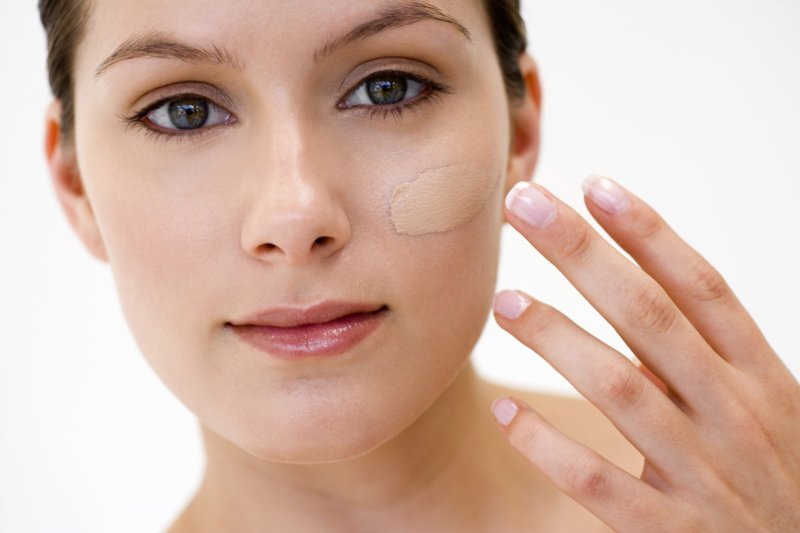
The advantage of this method is that the natural heat of the hands heats the tonal base, making it more plastic. It is considered the most economical in terms of expense of funds. However, beautifully and evenly applying with your fingers is much more difficult than with a brush or sponge. Therefore, if you do not have practice, when creating an image for a photo shoot, it is recommended to use a more proven way.
To apply foundation with your fingertips, type in the right amount. Then dot it over your face. Use literally a couple of drops on each of the zones - cheeks, nose, center of the forehead, chin.
It is extremely important not to smear the foundation, as this will only emphasize the texture of the skin. It is necessary to drive the product into the skin of the face with patting movements, starting from the center, gradually moving to the edges. Carefully work through every inch of skin so that there are no untouched areas and unshaded borders.
Tassels
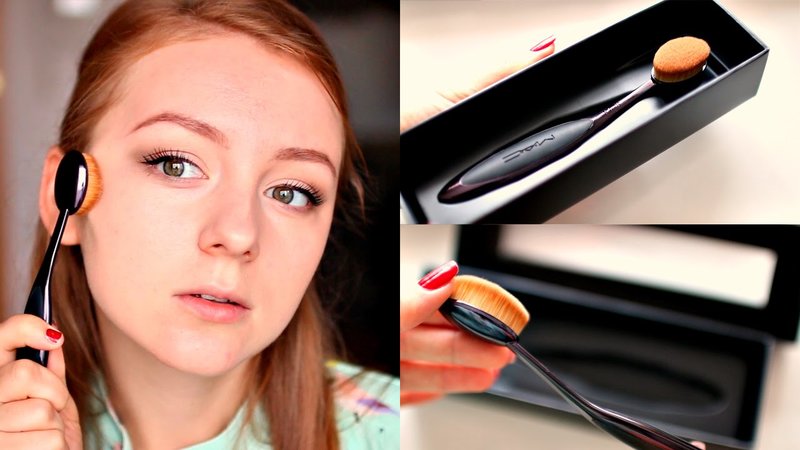
The advantage of using a special foundation brush is that it allows you to act as accurately as possible. It is also considered the most convenient way to apply the product - the hands remain clean and there is no need to wash the sponge off the foundation (the brush is cleaned with a simpler method).
To apply a tonal foundation with a brush, type it on your hand so that it warms up a little from the warmth of your hands. Spread a small amount of the product over the entire face and start rubbing with a brush. As rubbing, add cream. Make circular motions, if the brush is flat - linear. In this case, do not put pressure on the brush, it should be light movements, so the foundation is applied more accurately and more evenly.
Make eyebrows
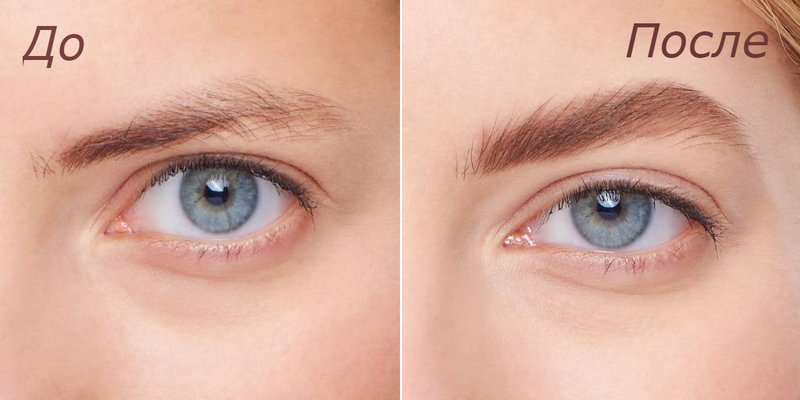
It is not recommended to radically change the shape, but some correction and fixation of the eyebrows will give your look a highlight. You can slightly correct the shape so that at the photo shoot facial features are softer or vice versa, more vivid and expressive, depending on the theme of the photo shoot. When making eyebrows, remember that if you change the natural lines of the eyebrows, the architecture of the face will also change.
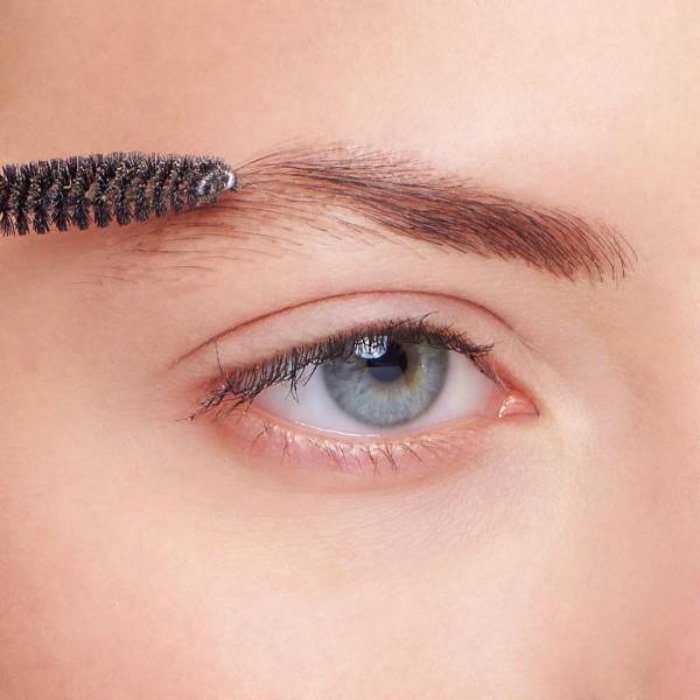
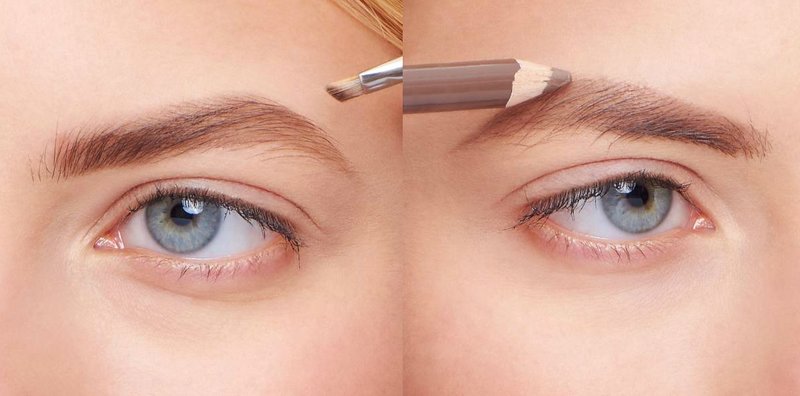
Step one. Comb the eyebrow hairs with a special brush, giving them a neat shape.
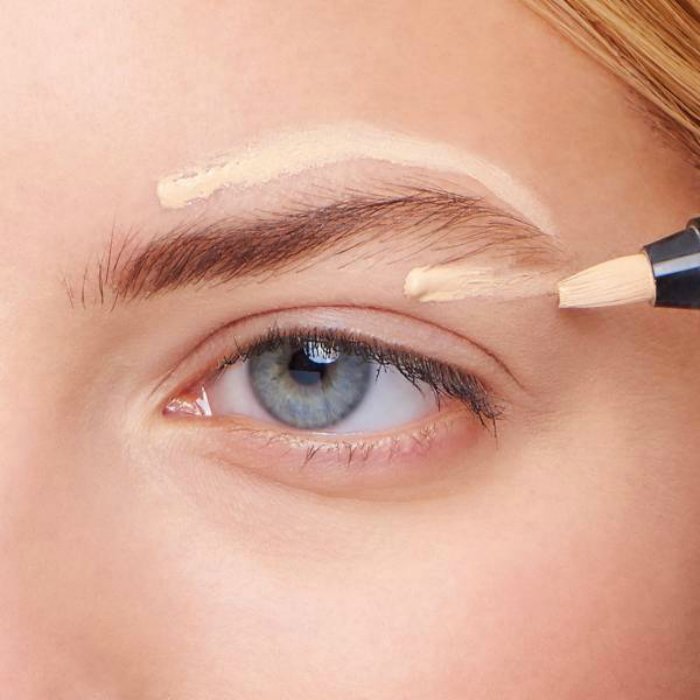
Step Two Using a highlighter or a bright corrector with reflective particles in the composition, highlight the brow area, as well as the area above the eyebrow.
Step Three To shape eyebrows with shadows, you will need a beveled brush. The shade of the shadows should match the color of the hairs, usually the palette of shadows includes three close colors. With the darkest tint, emphasize the corner of the eyebrow, with a medium tint paint over the tip. Be sure to keep the shading as soft as possible, especially at the base. Next, highlight the bone under the eyebrow with a light shade, this will make your look more open and expressive during the photo shoot. At the final stage, once again draw a brush over the eyebrows to remove excess shadows.
If you want to look more natural with your makeup in a photo shoot, a pencil that emphasizes the natural shape of the eyebrows is more suitable. Eyebrow drawing starts from the bottom. If the hairs grow in an upward direction, the movements of the pencil should also be directed, if the hairs grow in a downward direction, vice versa. Then lightly outline the outline of the eyebrow. If you want to emphasize the upper border of the eyebrows, comb them down. Blend the contour of the pencil.
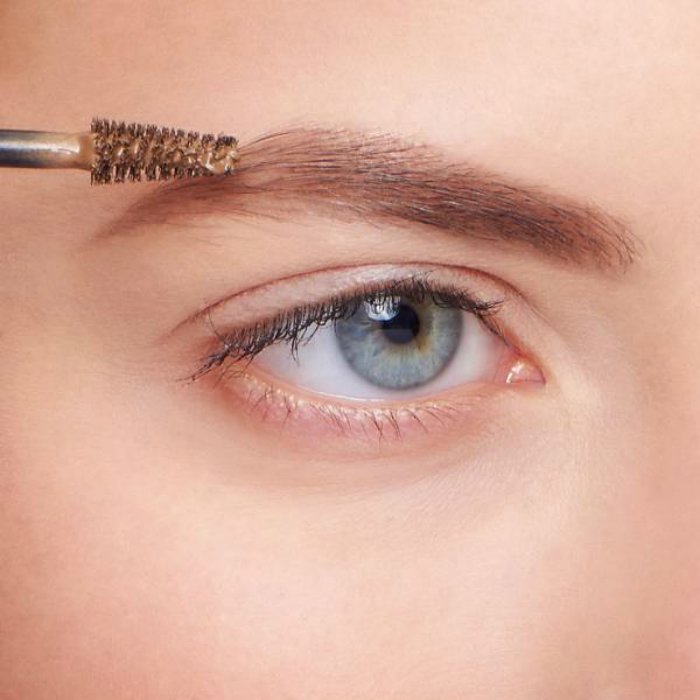
Step Four To keep the eyebrows in perfect shape throughout the photo shoot, fix them with special mascara or gel for eyebrows. The product should be applied in zigzag movements, this will give the hairs extra volume. If portrait shooting awaits you at the photo shoot, it is recommended that you slightly “ruffle” the hairs at the base. Using this trick, the eyebrows in the photos will look naturally thick and voluminous.
How do we color our eyes?
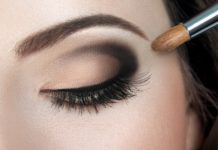
Eyes are considered the most expressive part of the face in photographs, so you need to think in advance how exactly they will be made up. Regardless of the technique of applying shadows and make-up color, the upper eyelids are covered with a special base under the shadows. It is preferable to use the shadow of a matte palette. Different types of rhinestones, sequins and mother of pearl are suitable for creating an image for a thematic photo shoot. In other types of photos, they will look unsuccessful and inappropriate.
It is not recommended to choose shades of red, pink or brick shades. They visually make the eyelids more puffy and swollen.
Suitable shades for photo shoots:
- olive;
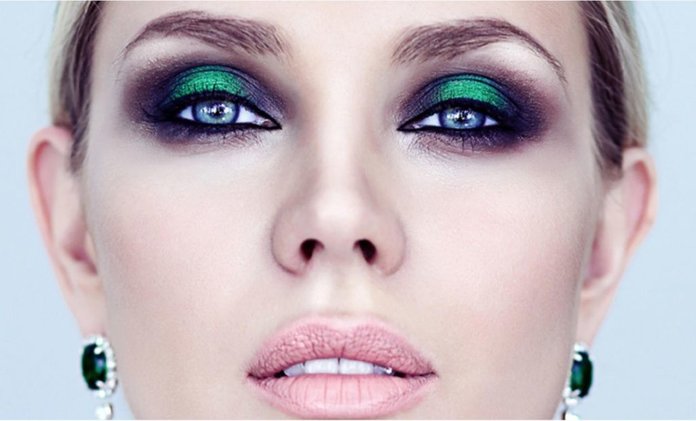
- emerald;
- beige in combination with other shades of a similar gamut;
- brown;
- chocolate;
- the black.
Vertical shading technique. Most suitable for girls with narrow eyes.The technique can be used both in daytime and evening makeup, depending on the time of shooting and the color scheme of the shadows. For vertical technology, there is one rule - the outer corner should always be the darkest.
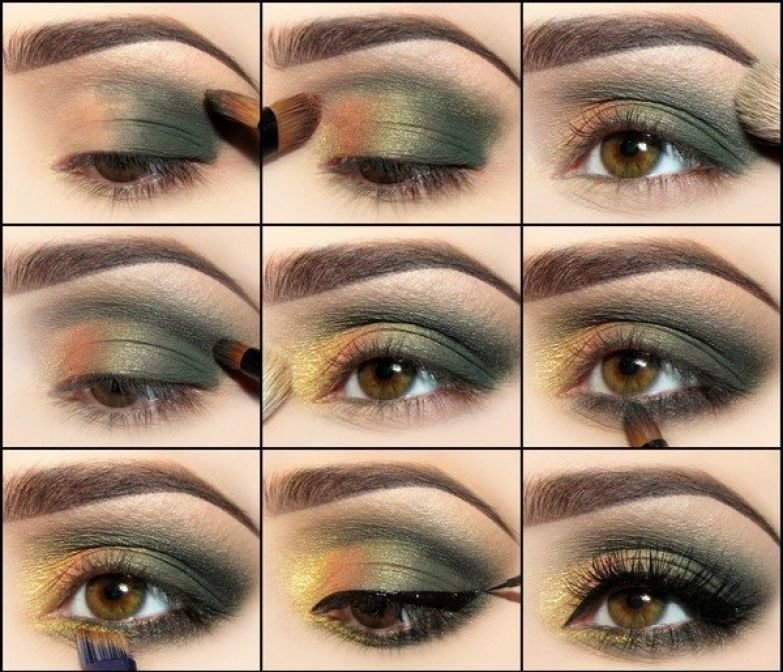
Horizontal technique. This method is suitable for girls whose eyes are round and have bulging eyes. This will help to visually lengthen and stretch them. Shadows should be applied and shaded horizontally. Also with this technique neat arrows look beautiful.
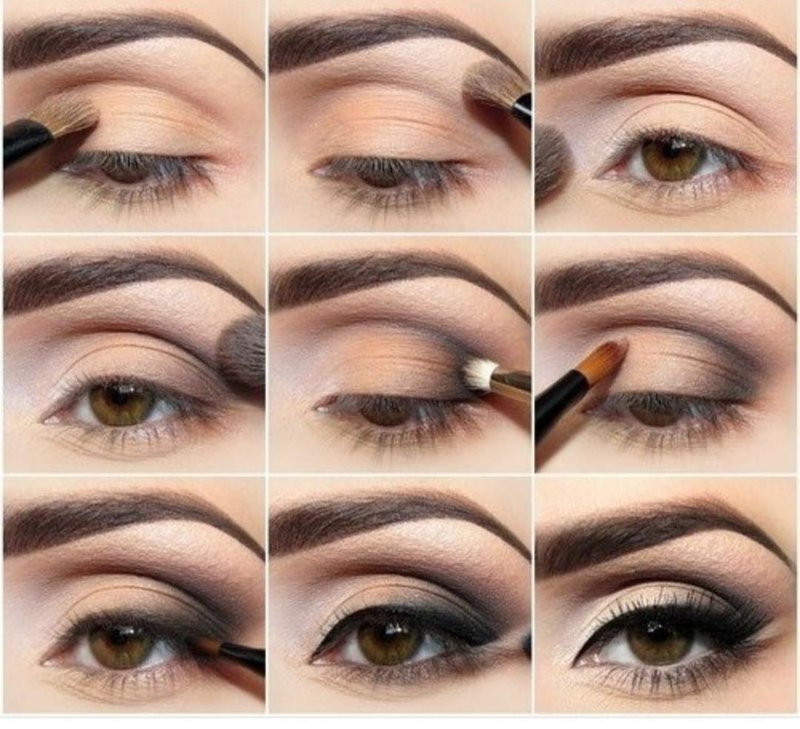
Classical or mixed media. This method involves applying shadows on the eyelids both vertically and horizontally. As a rule, shades of one color scale are used.
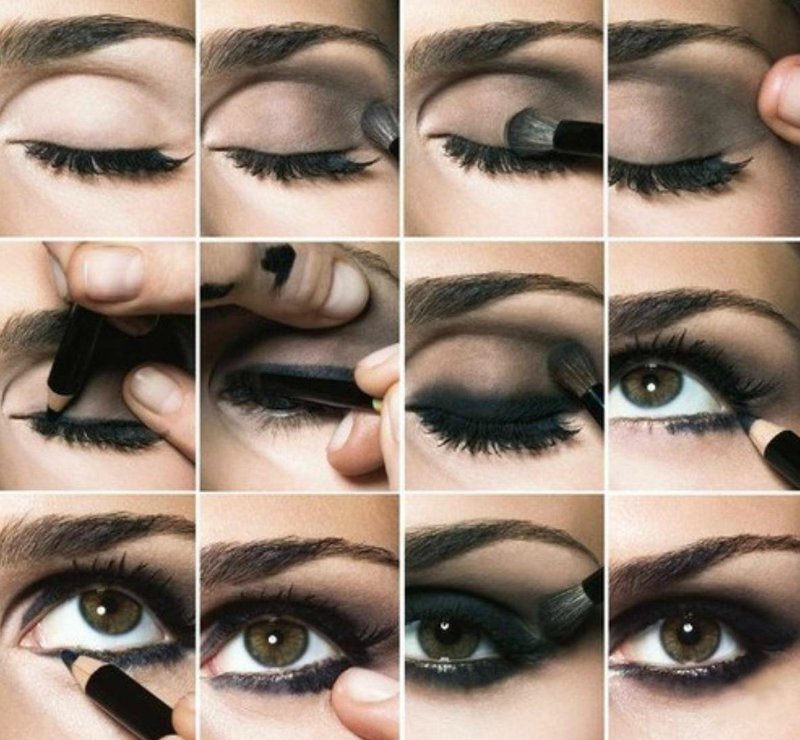
Pencil technique. Using this technique, you can visually adjust the shape of any kind of eye. Depending on individual characteristics, a soft pencil makes a kind of frame for subsequent shading. The brush should be more rigid and dense than usual, and the surface should be flat. You can also darken the mucous membrane of the eye.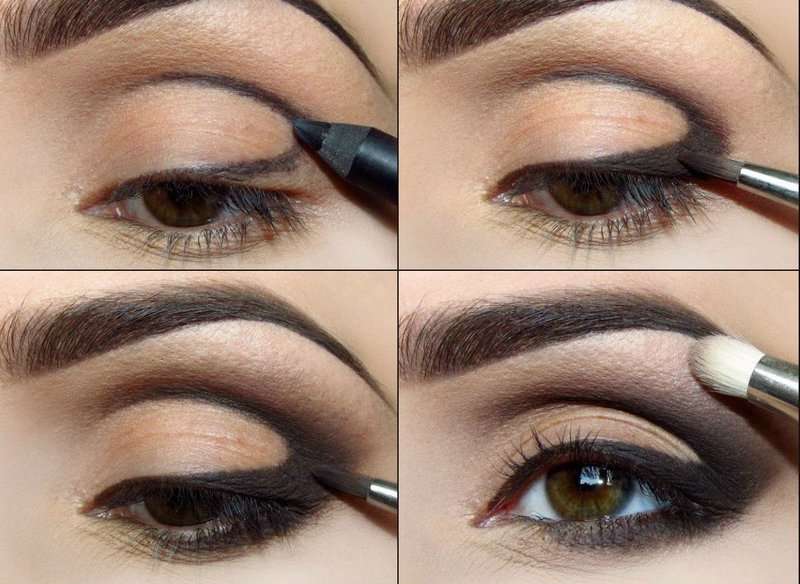
At the final stage, mascara is applied to the eyelashes. So that the eyes are not “lost” in the photo, the eyelashes should be voluminous, tinted in several layers. You can use false eyelashes.
Blush
During a photo shoot, every detail of makeup is very important. The shade of blush should be chosen so that it does not stand out, but practically merges with the color of the skin. The blush palette should be selected depending on the shape of the face, skin color and lips.
For very light and pale skin, the most appropriate color of blush are considered peach and beige shades, as well as the color of dusted roses. Using this range, you can achieve the perfect make-up that will look glossy during the photo shoot.
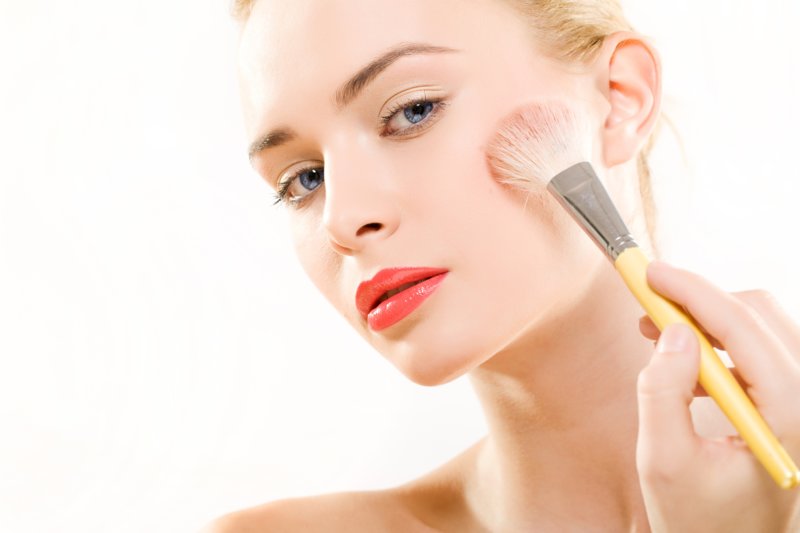
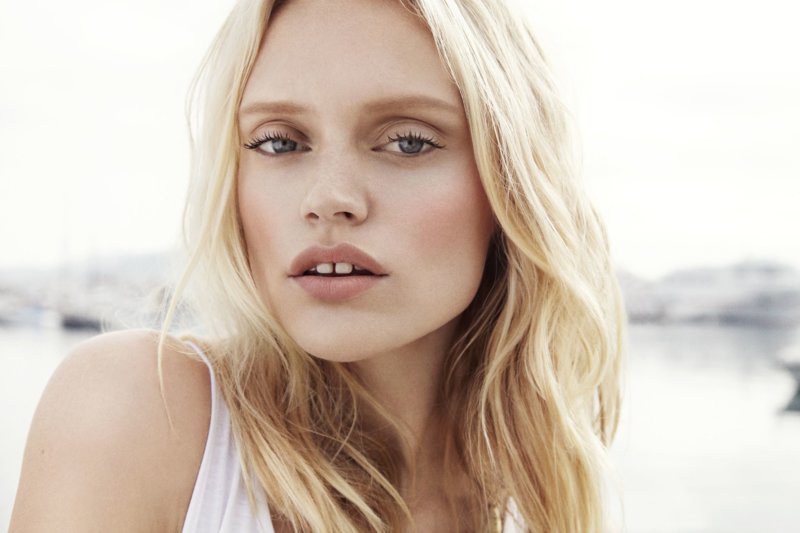
If you are the owner of fair skin, but warm shades, for example, olive, peach pink, coral or amber blush are considered ideal.
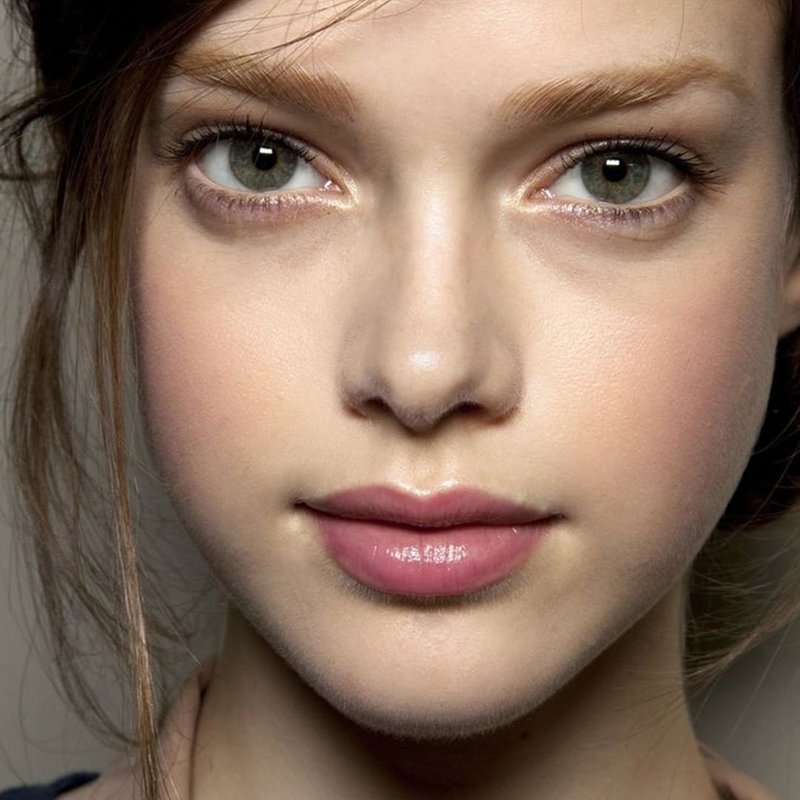
If the model for the photo shoot is the owner of a cold skin tone, the girl should use the blush of berry and olive flowers. This will help make makeup as natural as possible.
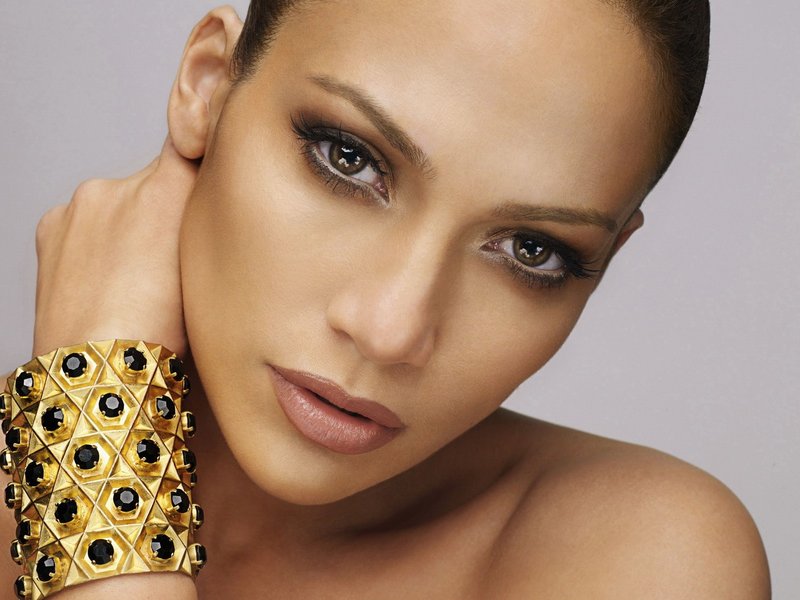
To emphasize the cheekbones at the photo shoot, girls with dark or tanned skin are recommended to give preference to light pink and orange blush, as well as the color of fuchsia.
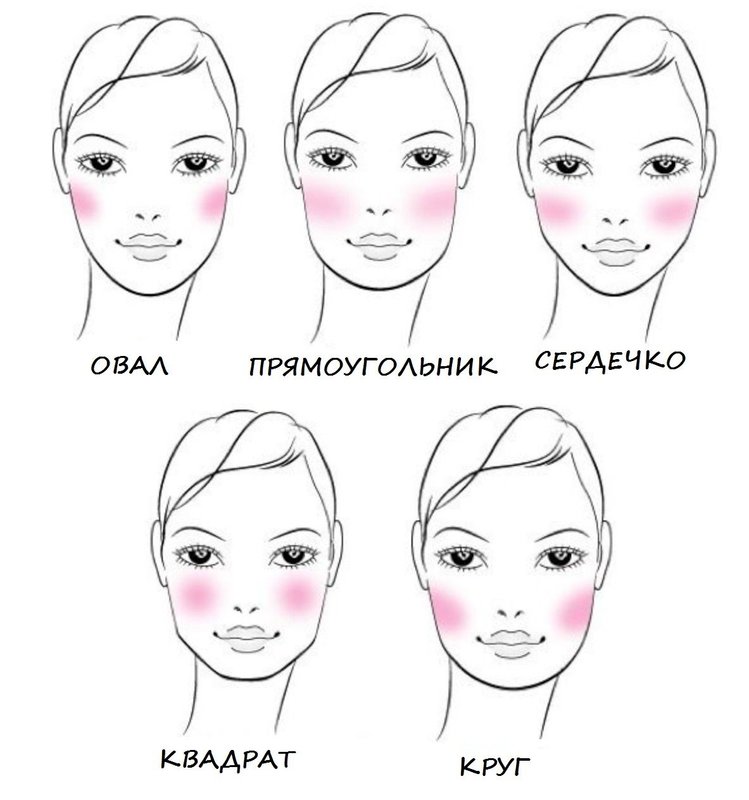
Apply blush carefully, since it is with this tool that the most problems arise. After all, only an experienced makeup artist can determine where and how to apply them correctly. If, nevertheless, you decide to make yourself your own makeup for a photo shoot, before you start applying blush, determine your face shape.
Application of blush depending on the shape of the face:
- Oval shape (heart). To emphasize the face, apply blush on the upper lines of the cheekbones, blending them towards the temples. First of all, apply to the protruding parts of the cheekbones, then with a light, barely touching movements, blend the blush to the earlobe. Distribute the product slightly over the temples;
- Round. In girls with this form, as a rule, the most noticeable part of the face is chubby cheeks. To visually stretch your face for a photo shoot, apply blush on the “apples” of your cheeks and blend them under the cheekbone. In order to determine the location of the “apples” - smile, the most convex part of the cheek is the “apples” on the face;
- Square. Also on the "apples" of the cheeks in a circular motion, apply blush. Sweeping movements help visually smooth sharp features, drawing attention to the cheeks. Blush will make them more round and voluminous;
- Rectangular Walk with a fluffy brush with typed blush on the top line of the cheekbones, blending them towards the temples. Then accentuate the cheekbones with a highlighter or monotone with a metallic sheen.
Lips
Usually there is no difficulty with lip make-up for a photo shoot. The main thing is to choose the right shade of lipstick, which will be in harmony with the color of the skin and hair, with clothes and accessories, as well as with the image as a whole. As a rule, during a photo shoot they refuse glittering and pearly lipsticks only if the shooting is not thematic.
Girls with fair skin are recommended to give preference to lipsticks with a delicate coral shade, caramel, terracotta, deep pink. If you have dark skin, lipsticks of berry shades - lingonberry or raspberry - will look beneficial.
In order to keep the lipstick perfectly and not smeared during the photo shoot, before applying it, the lips should be covered with foundation and thoroughly shaded. After that, make a contour with a pencil that matches the tone of the lipstick. Only after that lipstick is applied, while it is better to use a special brush. On top of the main lipstick, in the middle of the lips, apply a little white pencil and blend it, this will visually increase the volume of the lips.
The classic way to apply lipstick. You will need a brush made of artificial pile. Apply the first layer of lipstick, then duplicate it to get a richer color. To make the lip contour smooth, first outline it with a pencil, and then adjust it using the concealer. Use a clean, flat brush to draw a bit of the product and correct the contour of the lips if necessary.
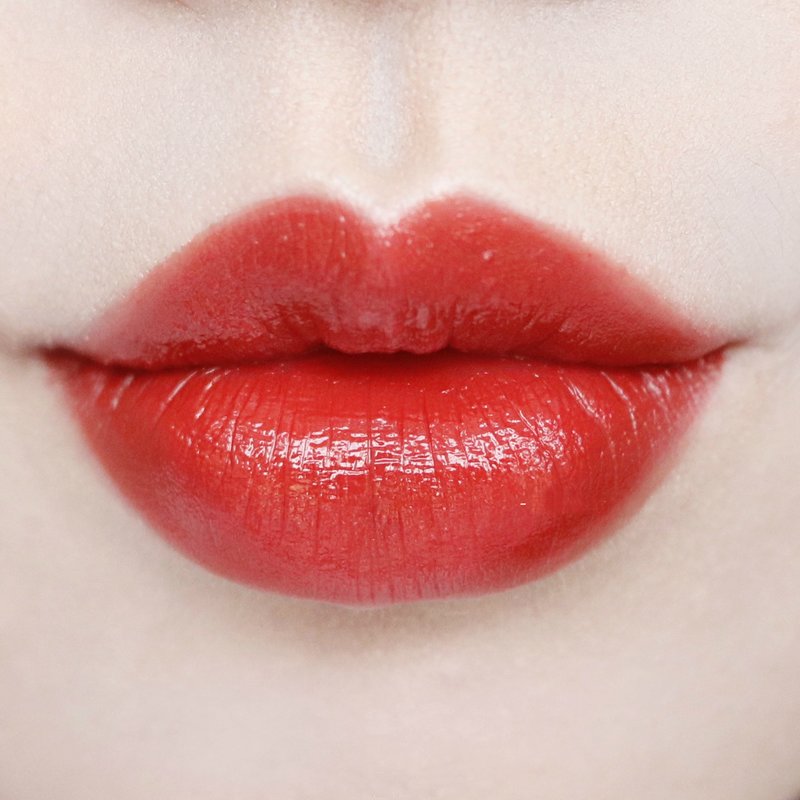
Gloss. As previously noted, this type of technique is often used in a thematic photo shoot. To do this, you need to cover the lips with a transparent gloss on top of the main lipstick. The color will become several times more intense, and the lips more voluminous.
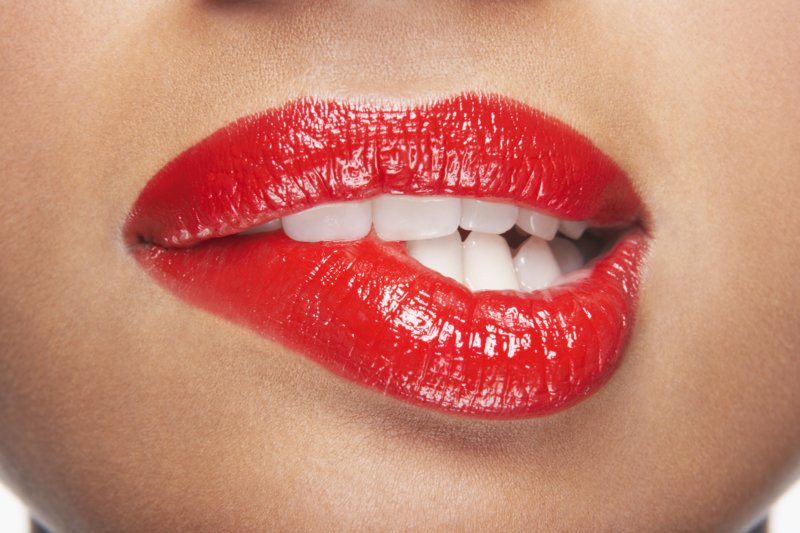
Kissed lips. This way of lip design is a new beauty trend. Paint your lips with a suitable shade of lipstick directly from the stick. After that, walk along their contour with a clean cotton swab or fingertips. So you can remove a clear lip contour.
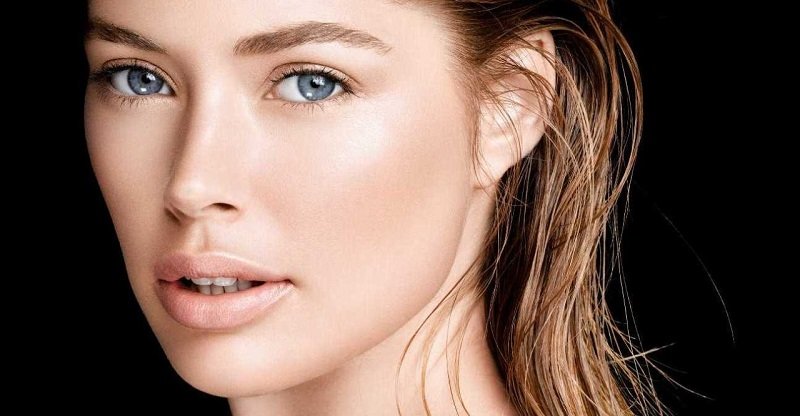
Nyudovye. To achieve a natural effect, moisturize your lips with balm before applying lipstick. Then with a cotton pad or stick, remove the balm. Use your fingertips to inject natural-looking lipstick into your lips. You can also use a natural fluffy brush and blend it on the surface.
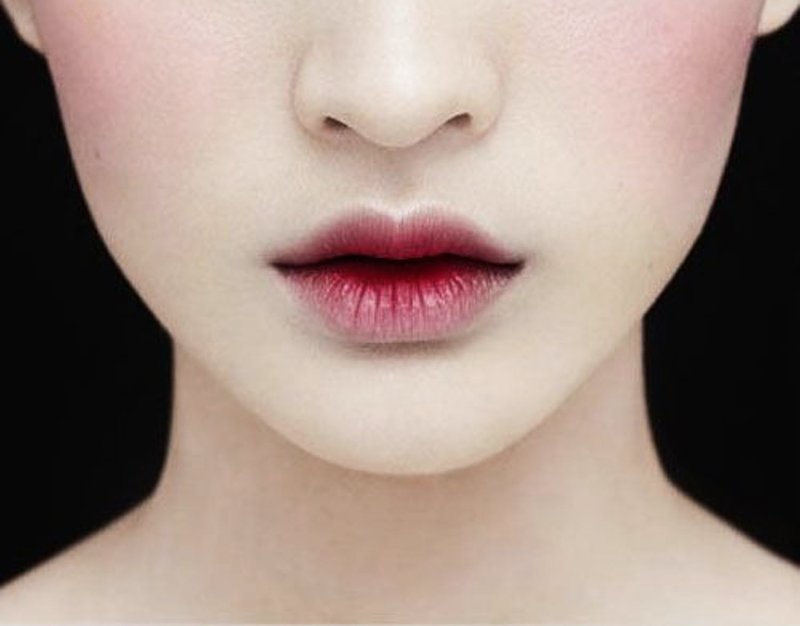
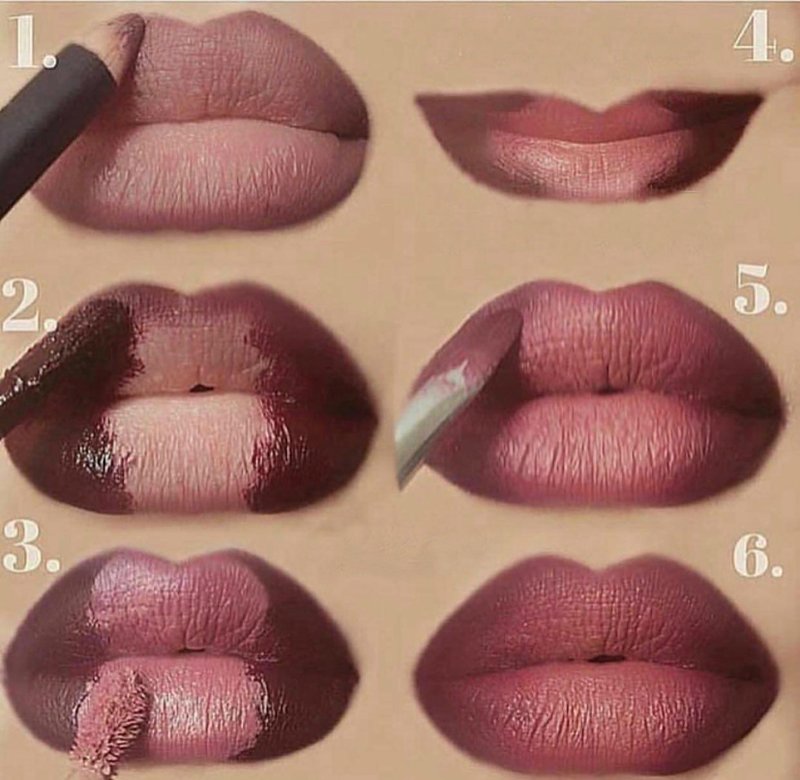
Lip gradient. At the first stage, lipstick is applied as well as in the classic version. Then a dark pencil is added to the corners, then it is shaded with a brush.
Makeup secrets for a photo shoot or major mistakes
As previously noted, makeup is different from the usual. Make-up at the photo shoot should look perfect, because even the smallest skin defects will be visible on the photo. If you decide to do the makeup yourself, first of all you need to take care of the condition of the skin in advance. It should be well moistened, without redness and peeling. The day before the photo shoot, it is recommended to abandon the use of alcoholic beverages, as they contribute to the appearance of dark circles under the eyes.
Use a base with a yellowish tint, when the camera flashes, the skin will turn cold and dull.
At the photo shoot, it is recommended to single out one thing - either lips or eyes. One of the main secrets is not to use powder with the addition of a bronzer in makeup. In ordinary life, this will give a natural radiance to the skin, and in the photo it will look like the gloss of oily skin. To extend the lasting makeup, be sure to use a fixative spray at its completion.
Makeup Ideas for a Photo Shoot
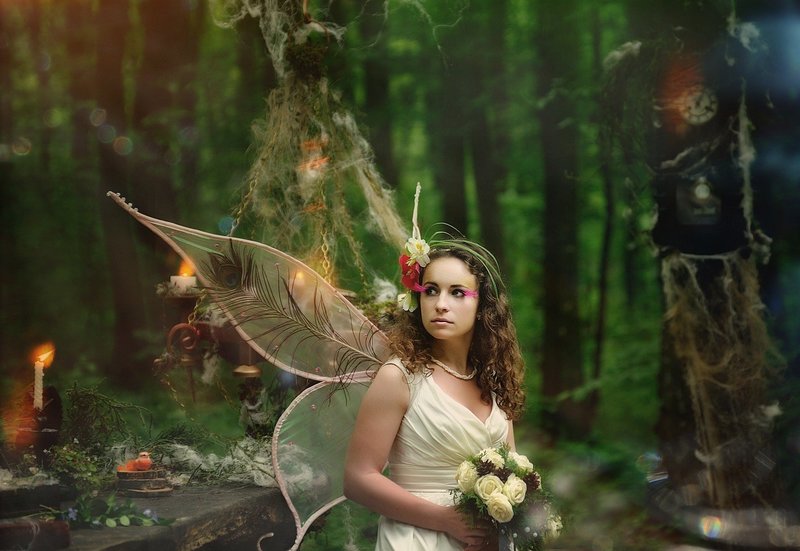
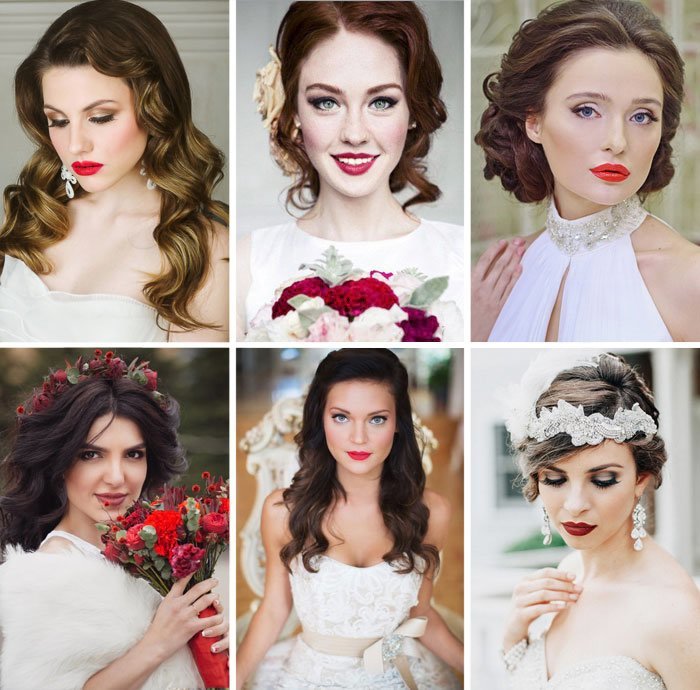
Makeup for a photo shoot in importance can be compared with a wedding one, when even the smallest imperfections are unacceptable. Well-chosen makeup helps to create the right mood, the model feels comfortable, which contributes to an easy and relaxed shooting.
Makeup depends on the topic of the photo shoot and it happens:
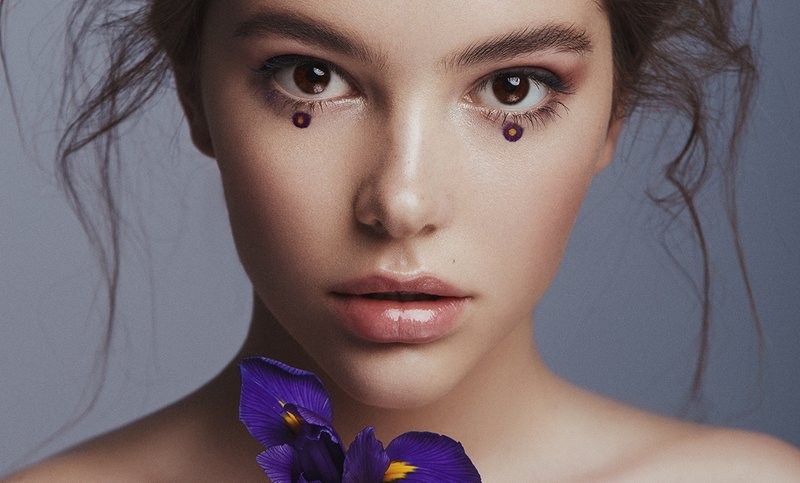
- natural (natural);
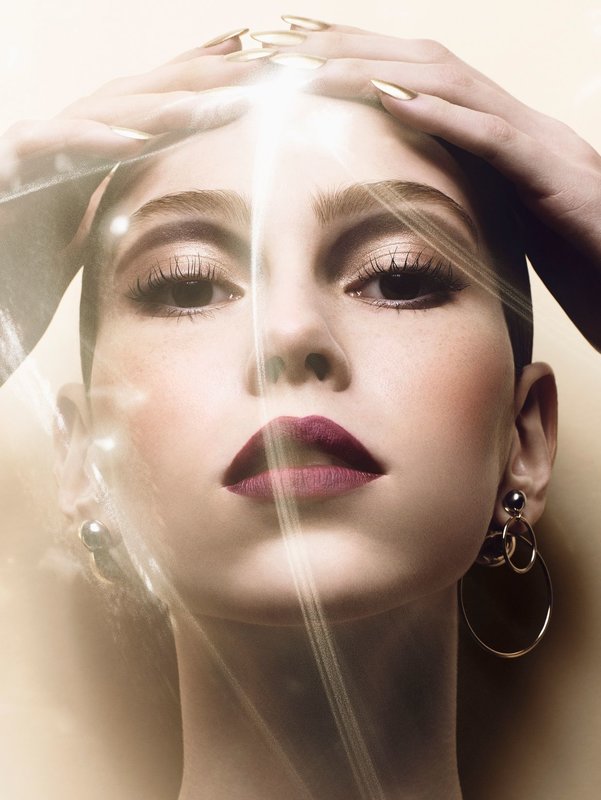
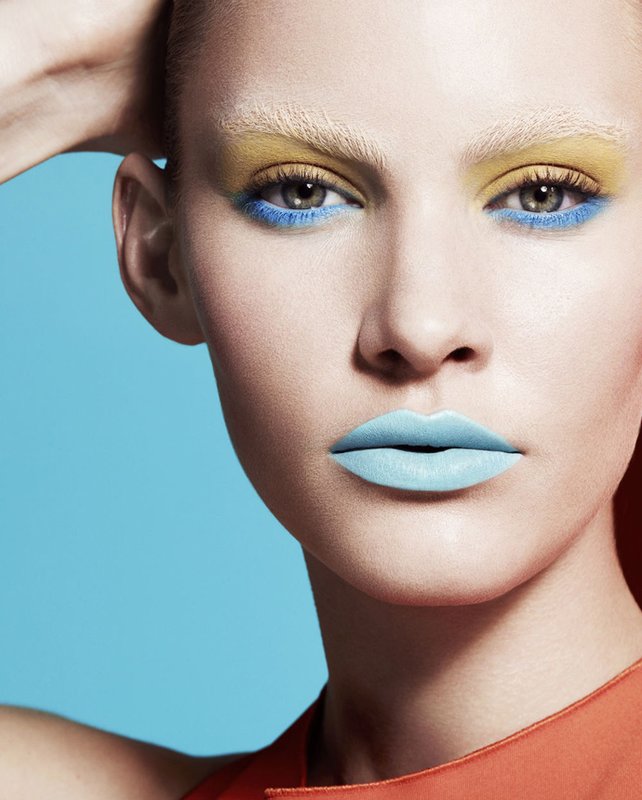
- bright;
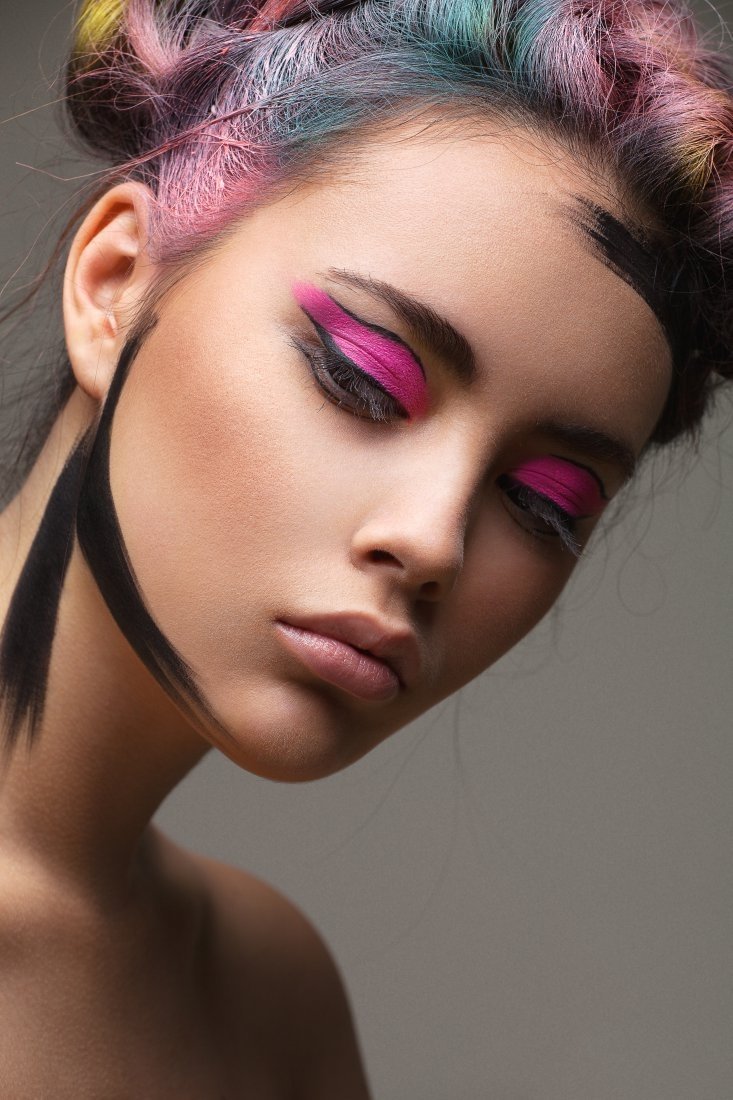
- unusual (art);
- creative.
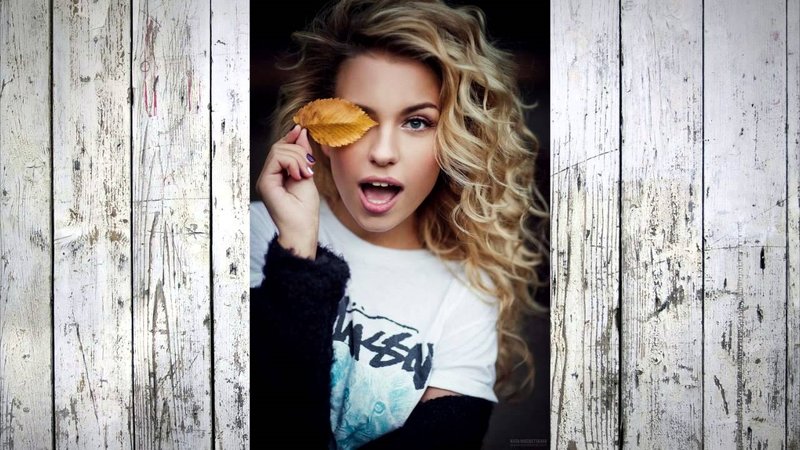
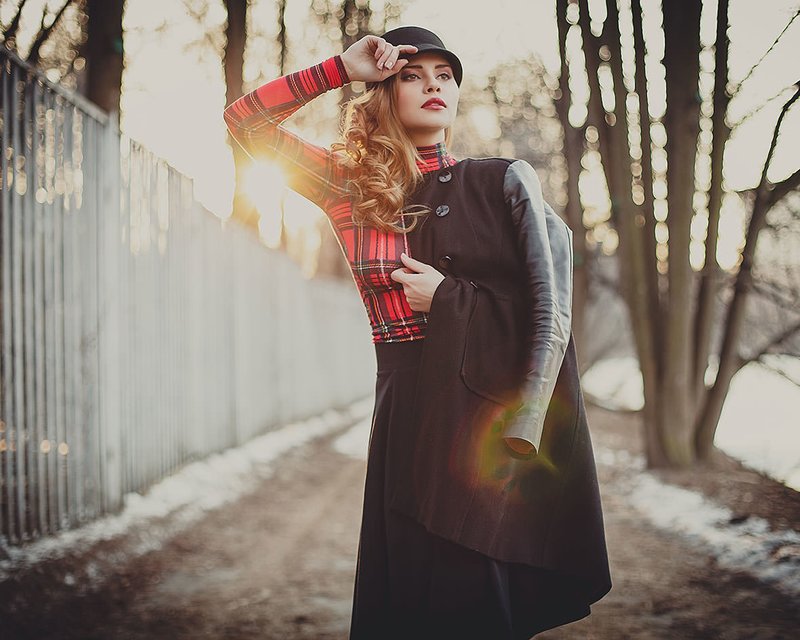
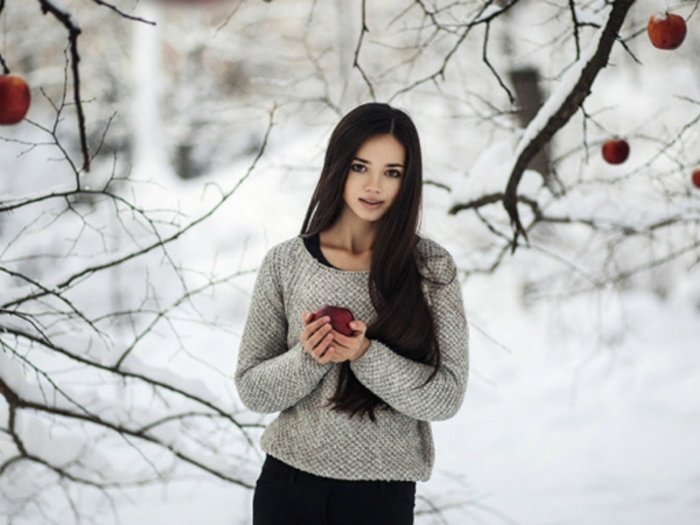
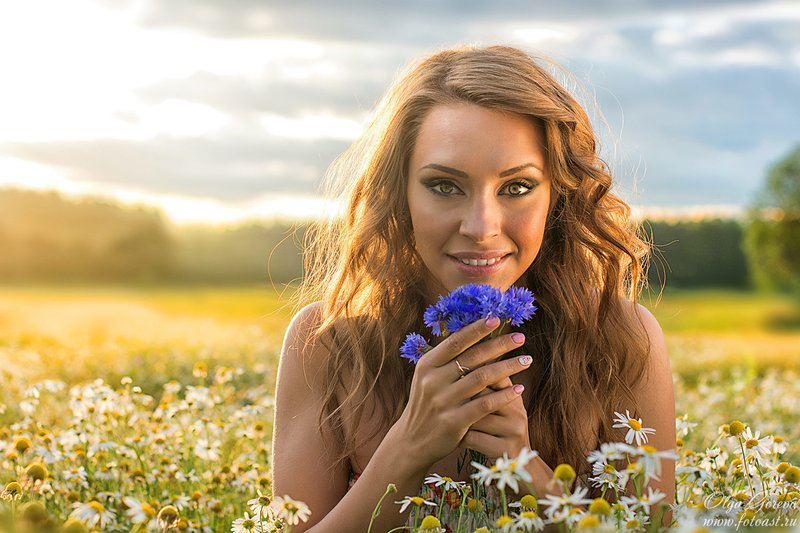
Also, the intensity of the application of makeup and the palette is affected by the time of year in which the photo shoot is held. Soft and warm colors will bring warmth to the image, which is typical for summer and autumn time of the year. Winter and spring shooting needs colder and brighter colors.
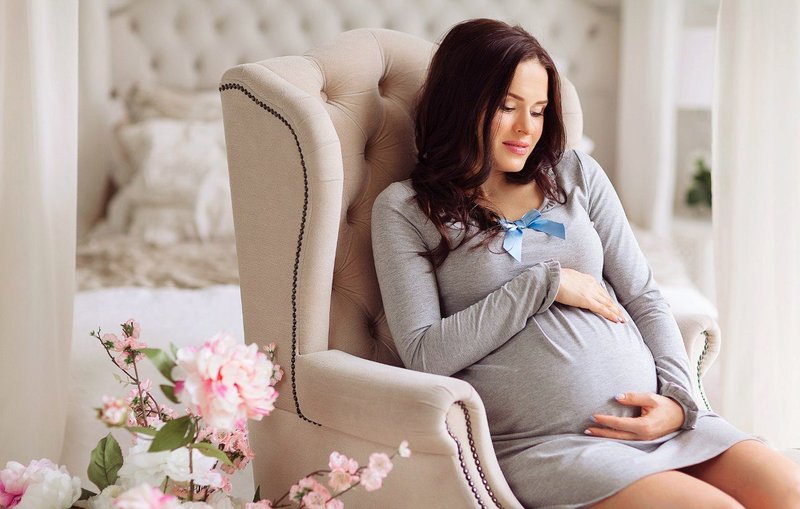
Photoshoot of a pregnant woman in the studio
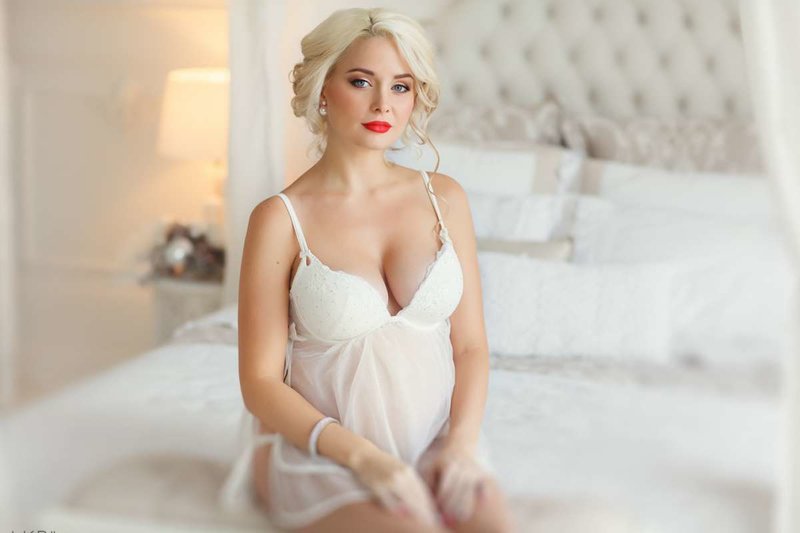
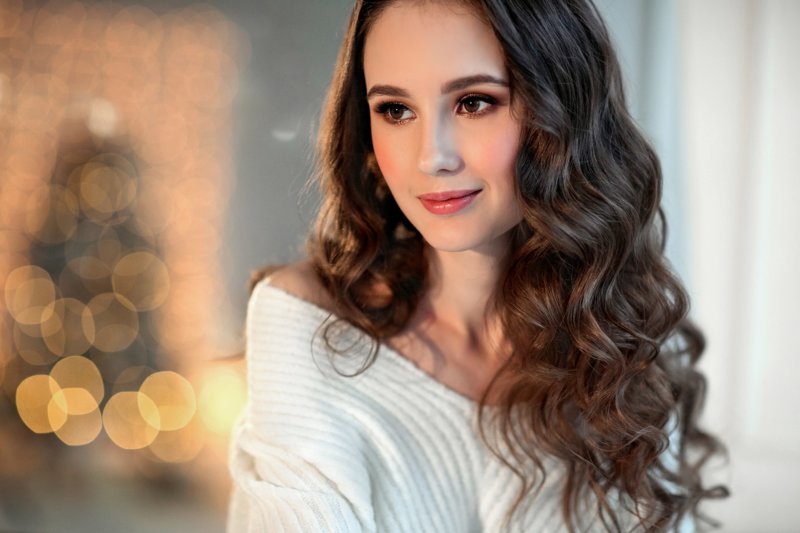
Images for the New Year photo shoot
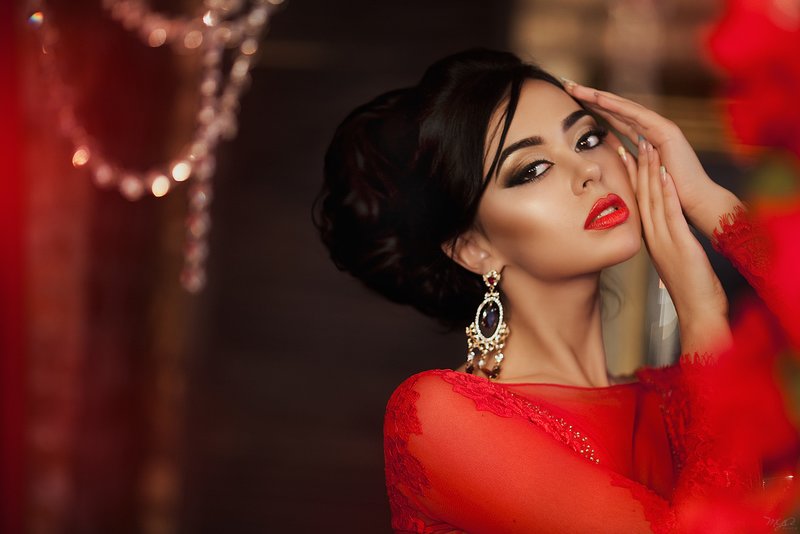

Wedding makeup for a photo shoot
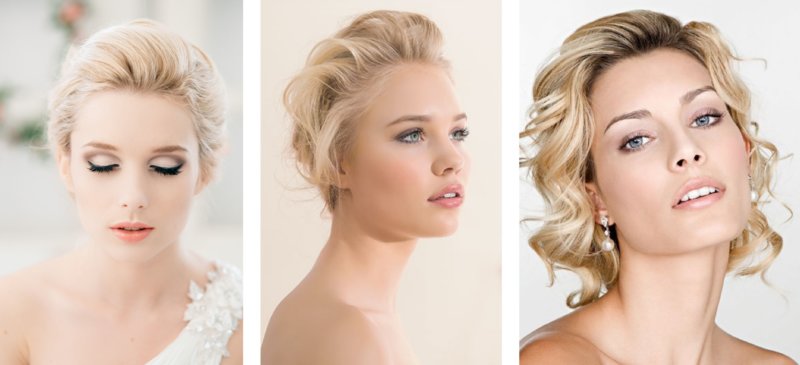
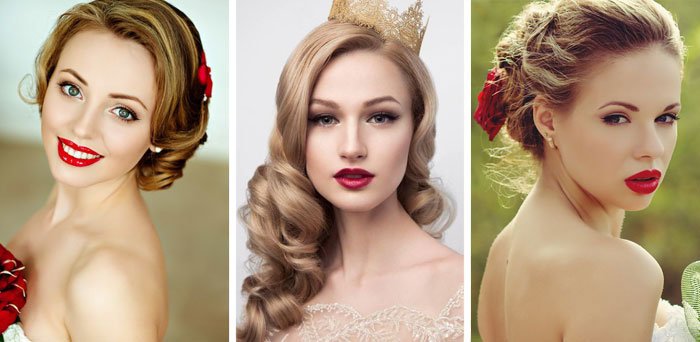
Street photo shoot
Beauty shooting
Thematic Photography
