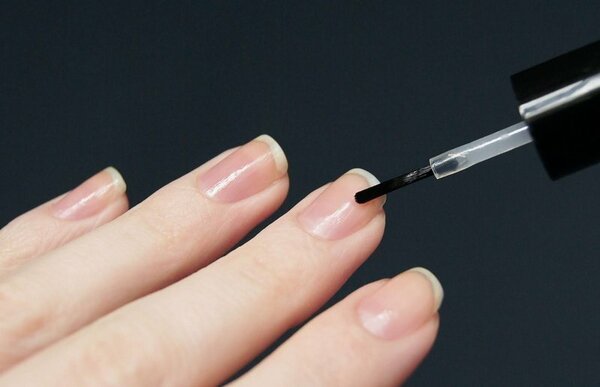
Shellac - a special coating for nails, which combines the properties of varnish (ease of application on the nail plate, attractiveness) and gel, which allows you to make the manicure strong, protects the nail from water.
Step-by-step instructions for applying shellac

If there is no desire, time and money to contact a specialist, you can cover the nails with shellac at home. The task is not easy, but you can learn.
Before we describe successively the instructions for applying shellac, pay attention to Some tips you should follow:
- Prepare everything you need: determine the color of the varnish, connect a UV lamp, process the surface of the nails;
- Shellac is attached to the nail and hardens only under UV radiation. Therefore, each finger, after applying shellac to the nail, must be kept under the lamp;
- In order for the manicure to look neat up to 3 weeks, it is necessary to prepare the nail plate: disinfect, sanitize, if necessary, and process. It is imperative to monitor the condition of the cuticle, this will help the nail to breathe and receive the necessary nutrition.
Due to its structure, gel polish does not roll as a regular varnish. This means that you can create a variety of designs on the nails.
We process the nail plate
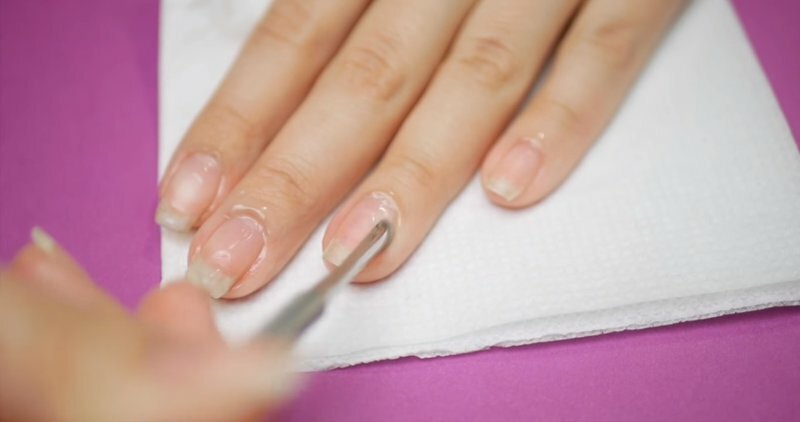
Step 1: we process the nail plate with a file, and also remove the cuticle before applying shellac. The nail needs preparation, so it is important to soften and remove the cuticle.
Decide on the shape of the nail, its length and sand the surface. This is necessary to eliminate glossy gloss, and not to thin the nail. Therefore, do not overdo it.
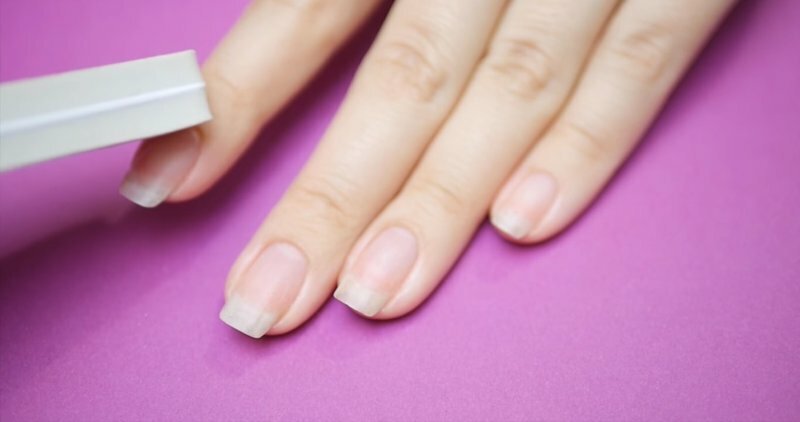
Clean your nails of dust and dirt, this will allow you to wear a manicure longer.
After completing the grinding using a special file or buff, removing all microcracks from the nail, proceed to the next stage.
Degrease the nail
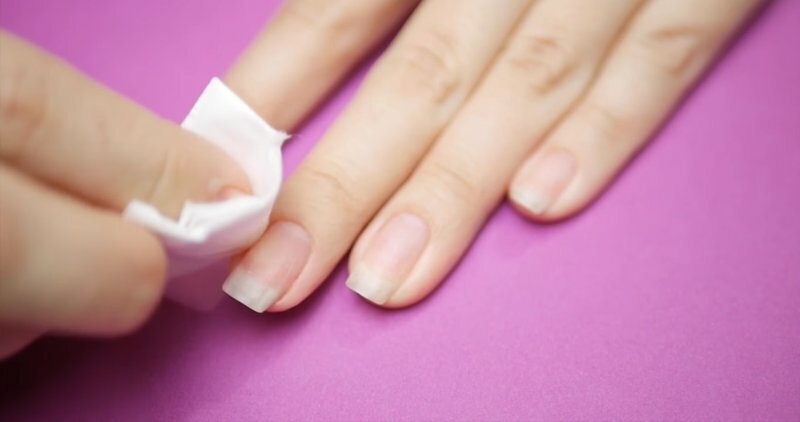
Step 2: degreasing the nail plate. The material should adhere to the surface and lie on the nail evenly. To do this, the nail is degreased: using a smooth cotton pad, wipe the nail with a special tool or regular medical alcohol. After this, a primer is applied, which must dry naturally.
Degrease nails immediately before applying shellac. It is very important not to touch them anymore, as greasy spots will appear again.
Apply base coat
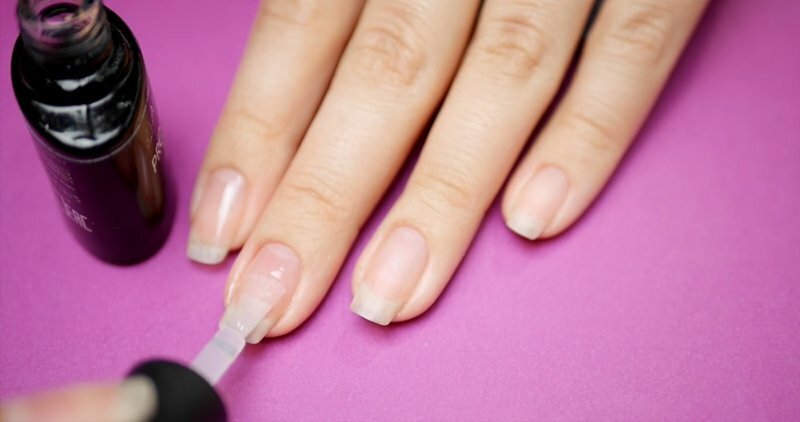
Step 3: apply the main layer. This stage resembles the application of a conventional decorative varnish. In the direction from the base of the nail to the tip, a base coat is applied. It is very important to leave a gap between the skin and the coating of 2 mm.
Do not forget that the base layer should be sealed. This is done by smearing the end of the nail.
After the base coat is applied, place your finger in the UV lamp for 10 seconds. Time varies depending on sensitivity and individual tolerance, as well as on lamp power.
Cover with a color layer
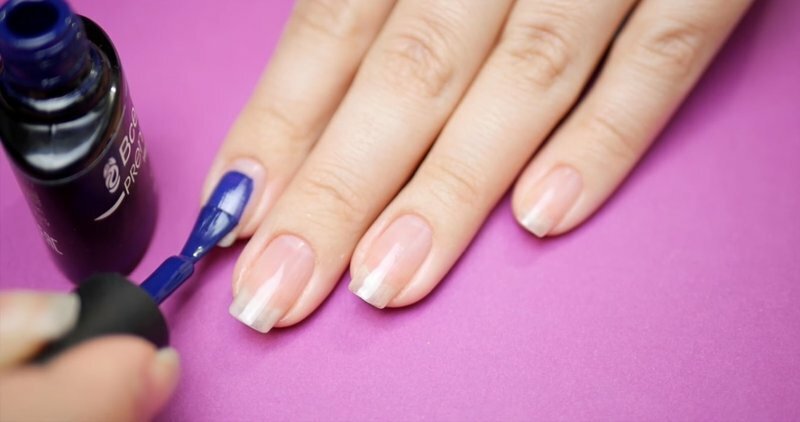
Step 4: start covering your nails with colored shellac.Try to apply the varnish closer to the cuticle, so that the manicure looks more neat. After choosing the color of shellac, apply the first coat, then send it to an ultraviolet lamp for 2 minutes.
In the same way we apply the second layer and dry it in a UV lamp. It all depends on your preferences, but practice shows that if you leave one coat of varnish, the tone will be translucent.
Apply top coat
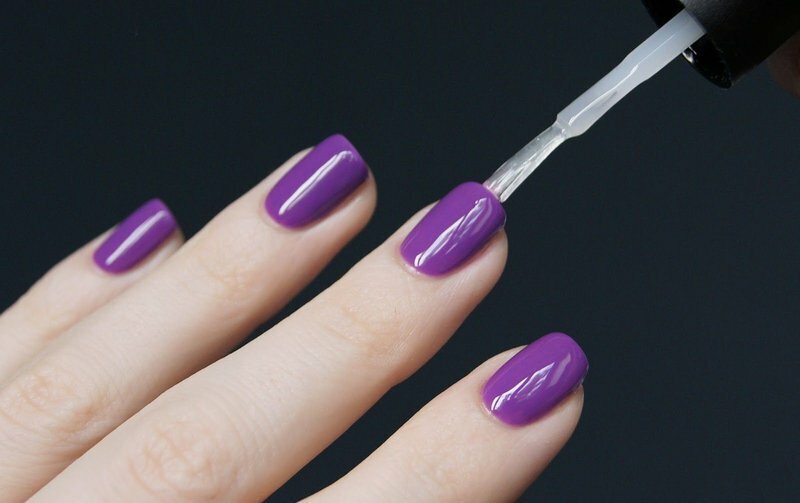
Step 5: we fix the work. The last layer should be the most dense, apply it on the entire surface of the nail and seal. Place your fingers in an ultraviolet lamp for 2 minutes. Be careful not to get stains and bumps. If you allow carelessness at this stage, you will have to redo the manicure and apply shellac again.
A manicure with shellac at home at this stage is considered almost complete. It remains to remove the sticky layer. This is done with a degreaser and a lint-free cotton pad.
Performing correctly all the above steps, you will get a beautiful uniform manicure. He will not wrinkle, will not burst and will delight you for at least 3 weeks.
Do you like the publication? Like and subscribe on us!


